Hello fellow makers!
Did you know it’s World Watercolor Month? Well, if you didn’t now you do! In my past life as a seamstress, one of my responsibilities was dyeing fabrics to custom colors for our lovely brides. It was something I really enjoyed doing and it became almost meditative at one point. Mixing colors in small batches, testing swatches, balancing the color and washing and rinsing by hand all became different parts of a dance. I can still see the different shades of tulle and silk hanging out on the line to dry in my head. My heart would swell once I saw all the pieces put together to form an elegant dress. There’s just something about making things from scratch!
I decided to play with some color in an entirely different way this time around. I used paintbrushes and painted the color directly onto the fabric. If you’ve painted with watercolors before you know that you have some control, but within that control magical things that aren’t in your control happen. You get these beautiful gradients and pools of color! I wanted to re-create that effect with the dyes.
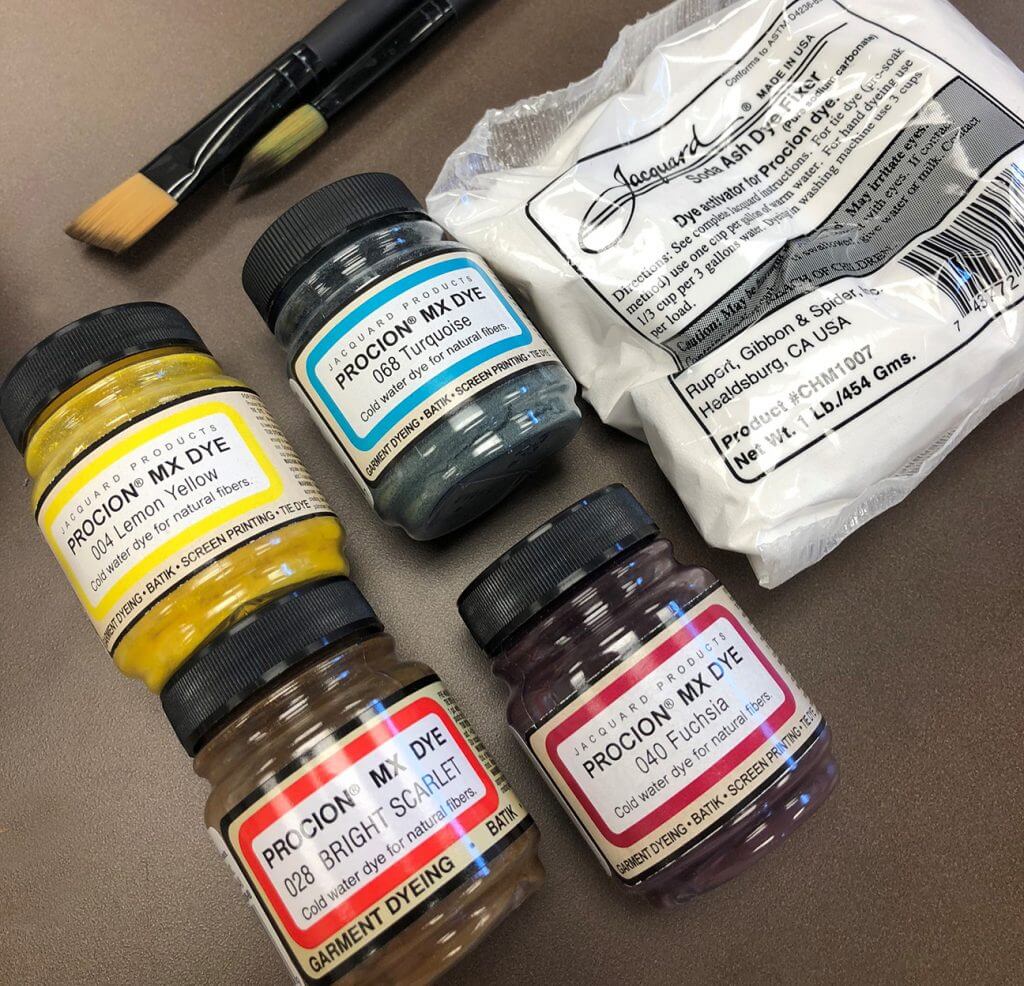
I used Jacquard Procion Dye and Soda Ash cause honestly, its the best with Kona White PFD Fabric because it takes the color beautifully.
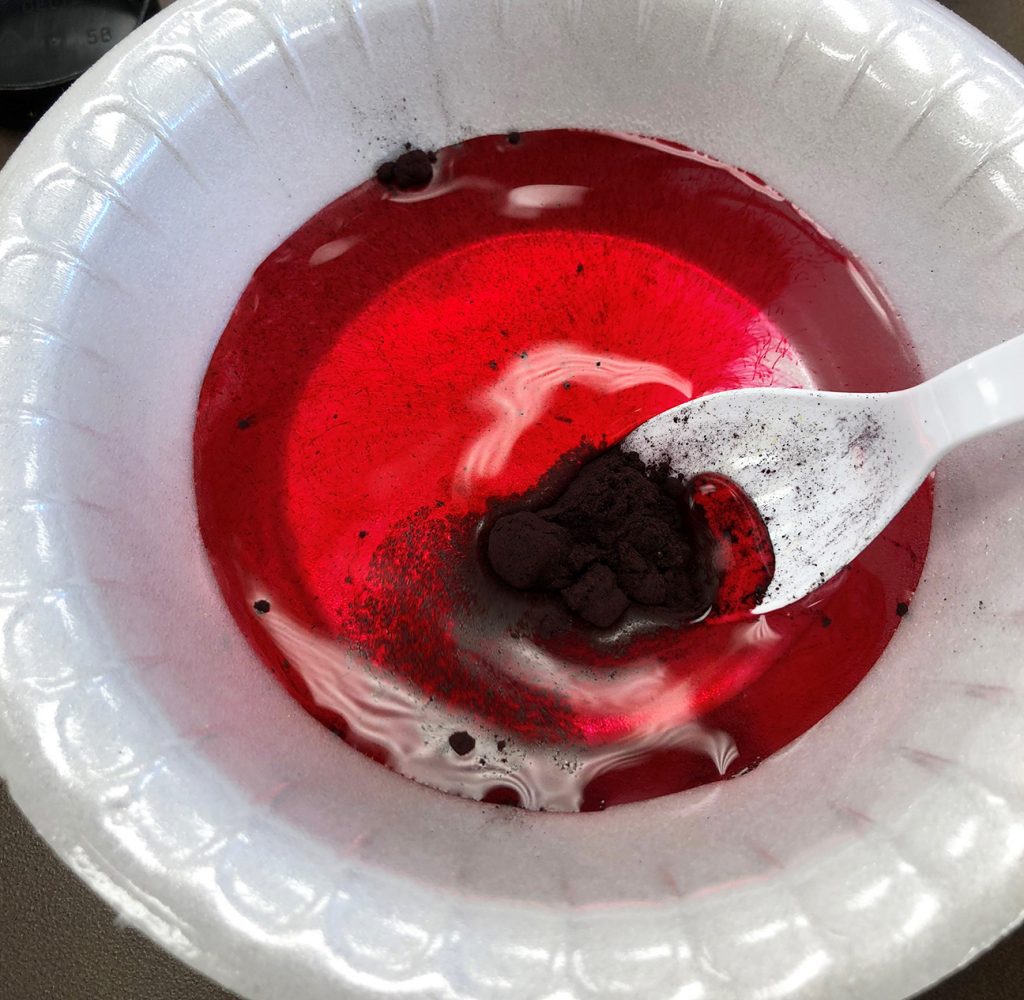
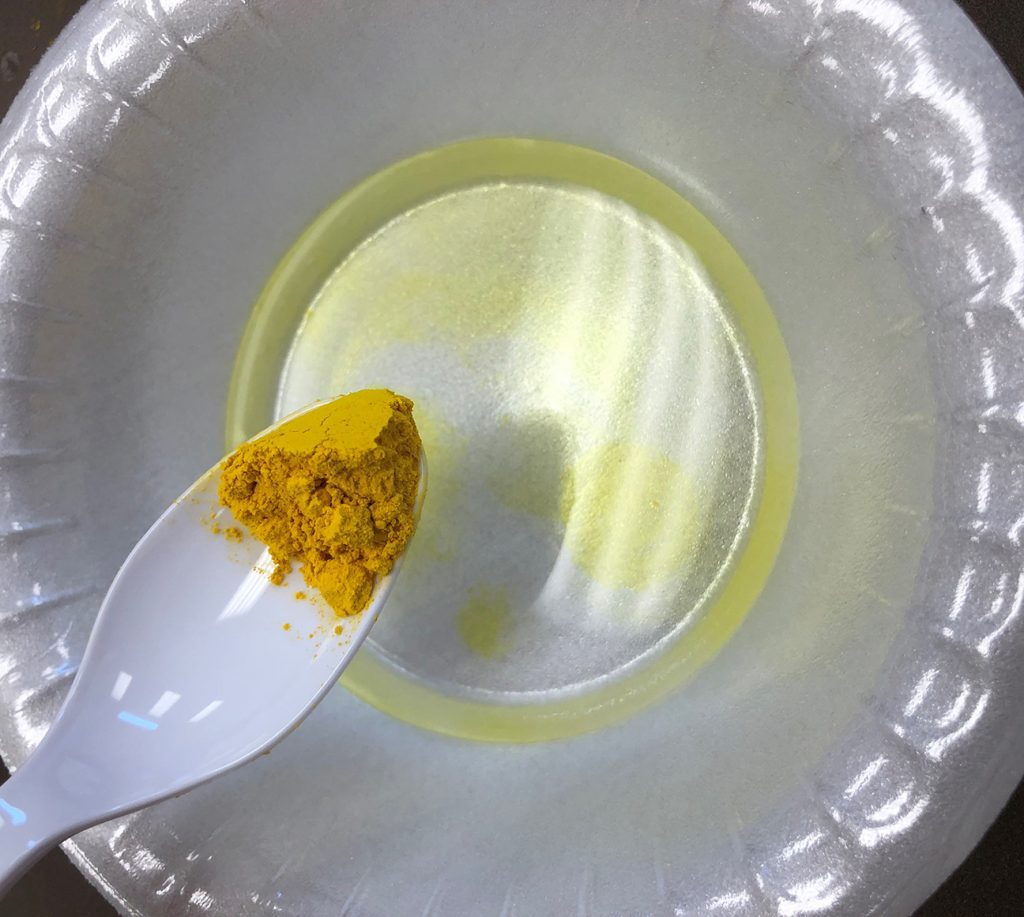
First, I started off by mixing my colors. I used about 1/2 teaspoon of each color and mixed them with about a cup and a half of water. I wanted the color to be potent so I would have more control over how the colors would fade and blend.
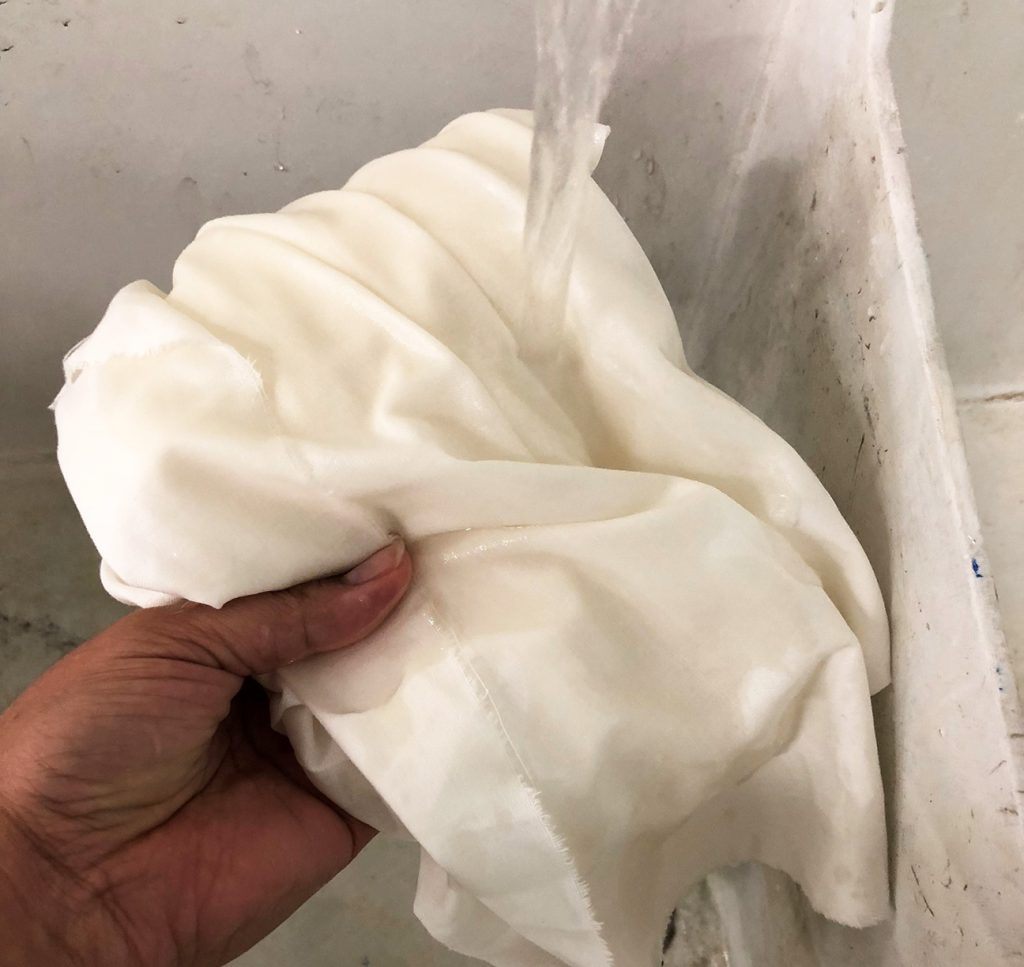
After I mixed the colors, I went and wet my fabric. This helps move the paint around on the fabric easier and you get a more even absorption of color. Excuse my dirty, but very loved work sink.
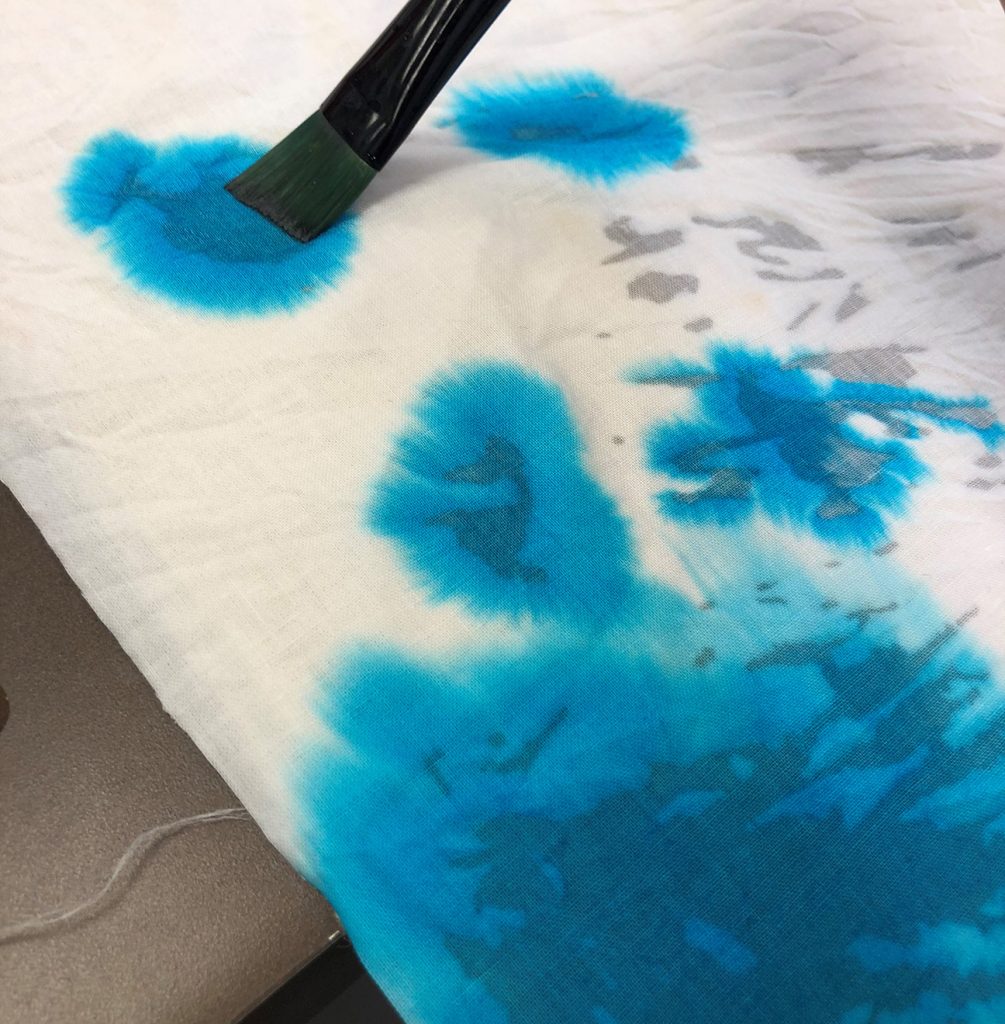
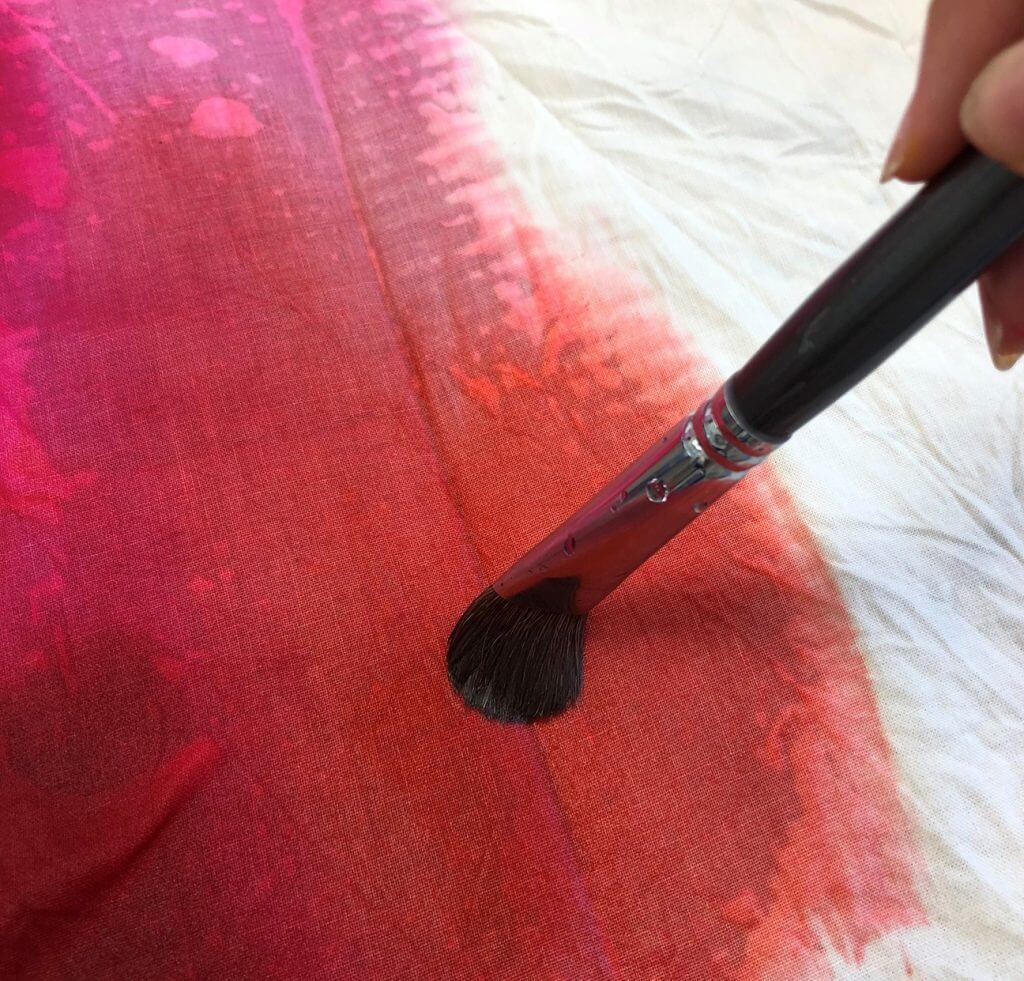
I laid the fabric on top of some cardboard and got to work brushing the color on. I let it drip onto some spots and spread the color really thin in others. It was a very soothing activity to say the least. I honestly could have made 10 more of these!
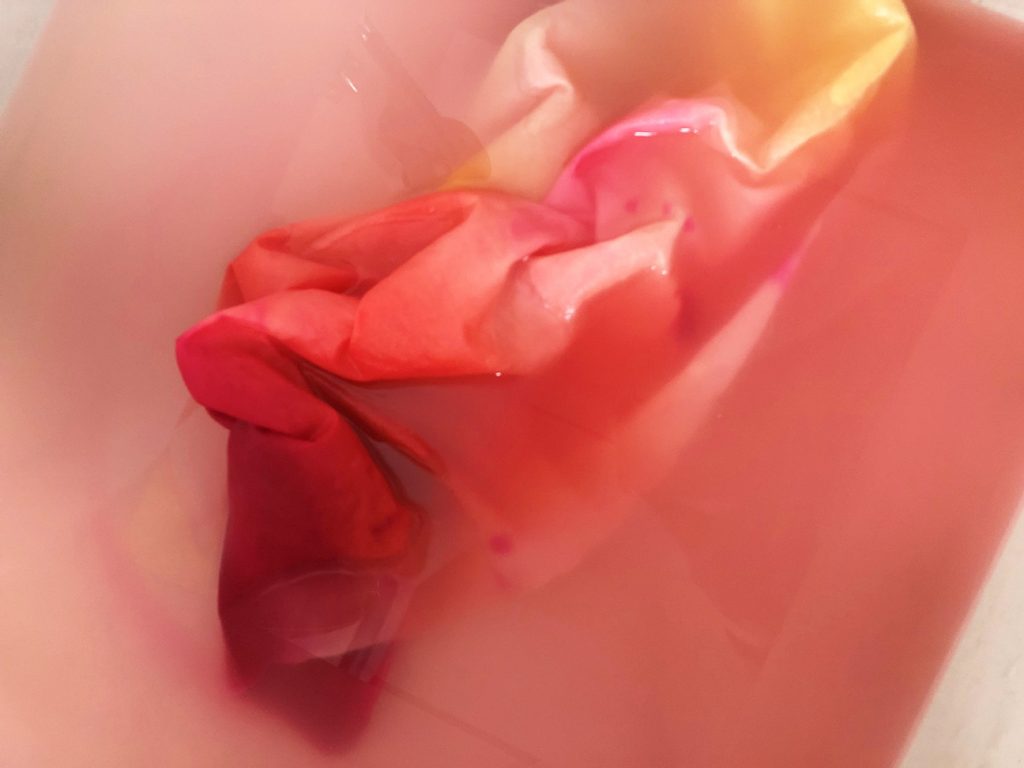
After I got the effect I wanted, I put the fabric in some cold water with the soda ash and swished it around. This stops the dye process and fixes the color in place. I let it sit in there for a little bit before washing and rinsing it out.
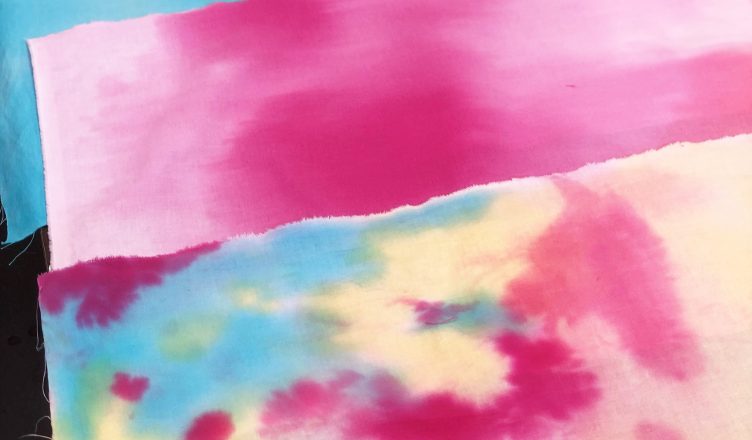
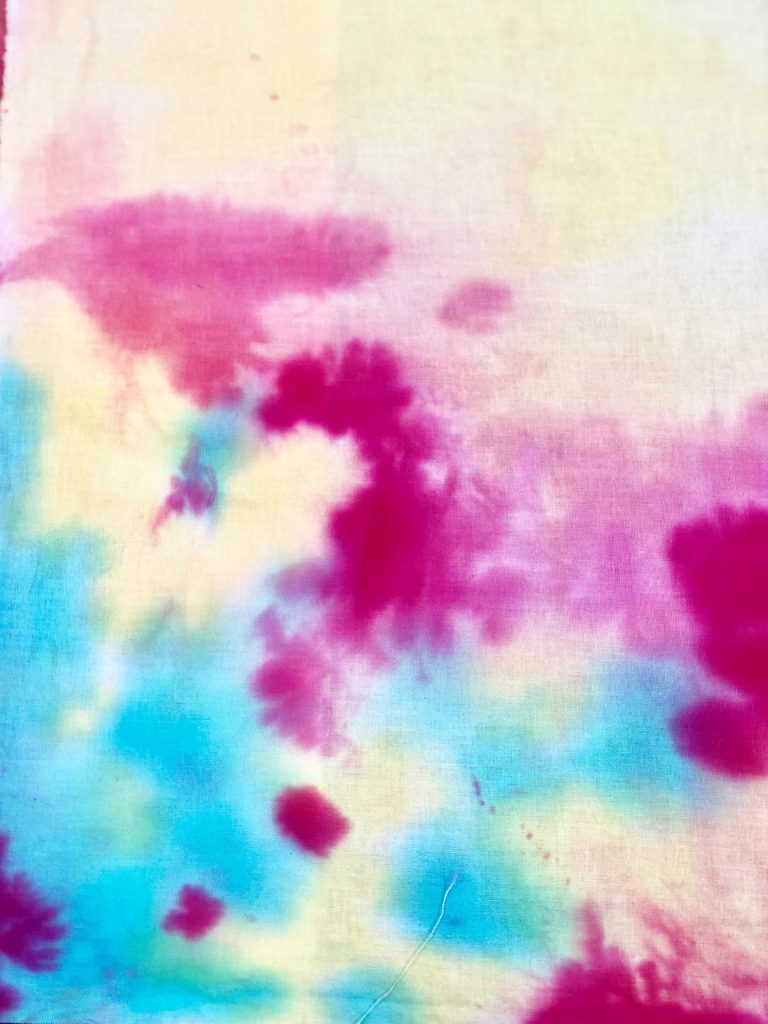
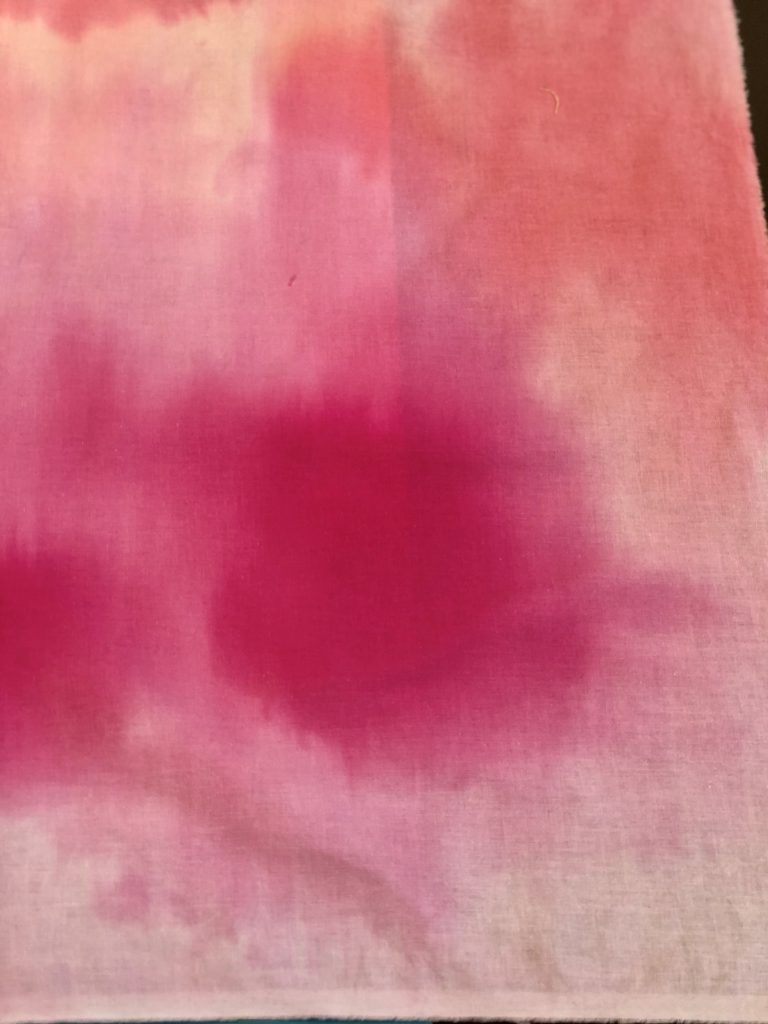
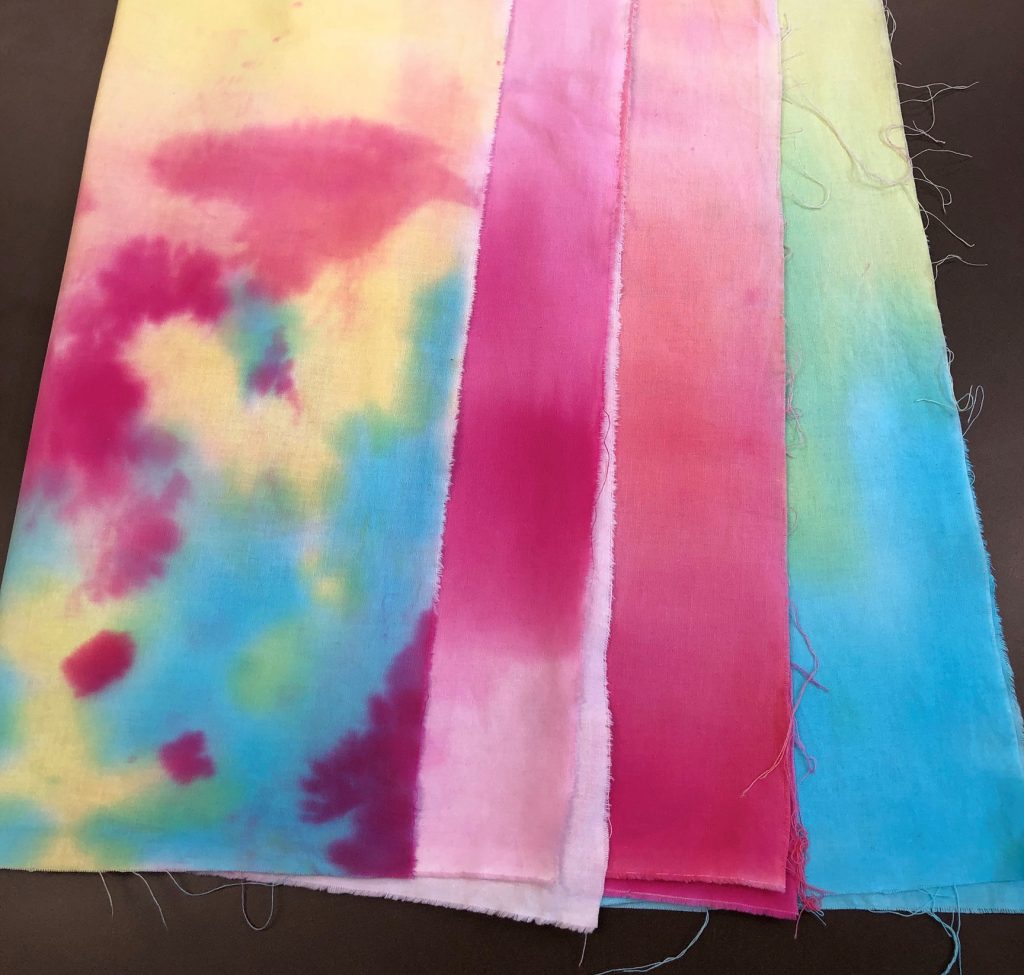
Once the water runs clear, I squeezed as much water out as I could before hanging it to dry. After it was dry I ironed it to prep for projects. I love the way they all turned out! Look at these colors!
![]()
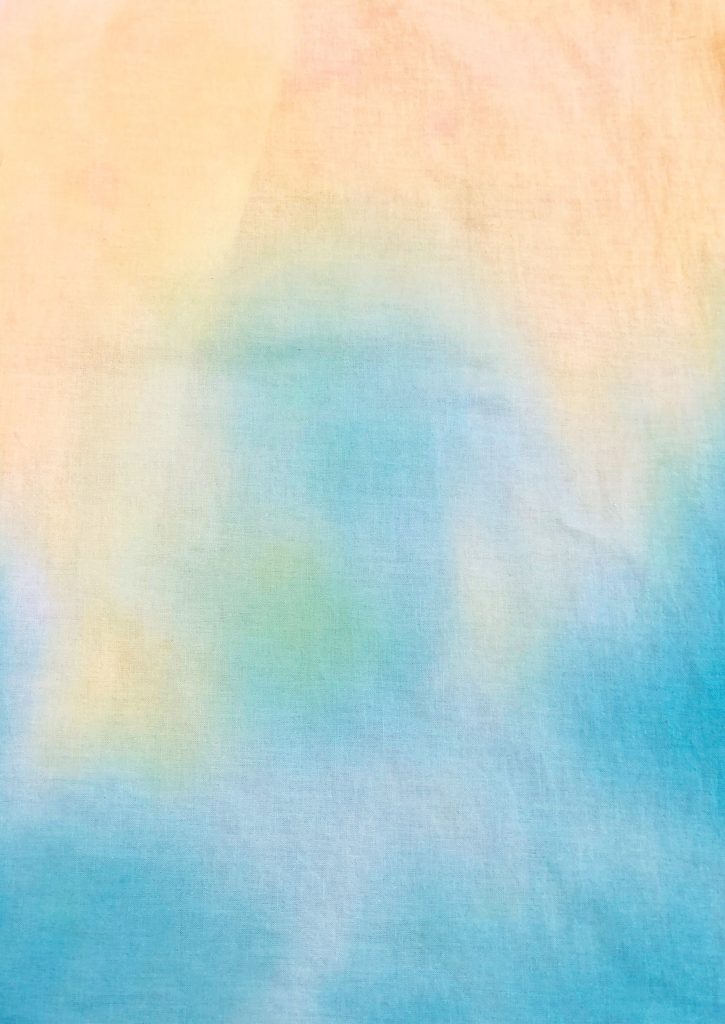
Aren’t they dreamy?
Have you tried hand dyeing fabrics before? How did they come out? What did you make from the results? Let me know in the comments below! Thank you for going on this little journey with me.
Your friend in making,
Xappa