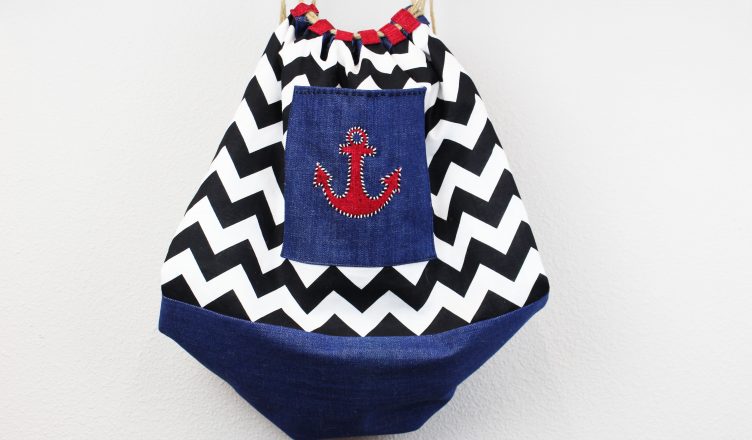
Take your beach apparel to the next level this summer with your own handmade beach bag. Our Anchor Clinch Bag design is perfect for carrying all your beach supplies in style!
Download full pdf tutorial here for quick reference at home.
SUPPLIES

Die Cutting Machine
Fabric
A1067 Fab Dies
Iron
Fusible Web
Sewing Machine
Thread
Scissors
Cording
INSTRUCTIONS
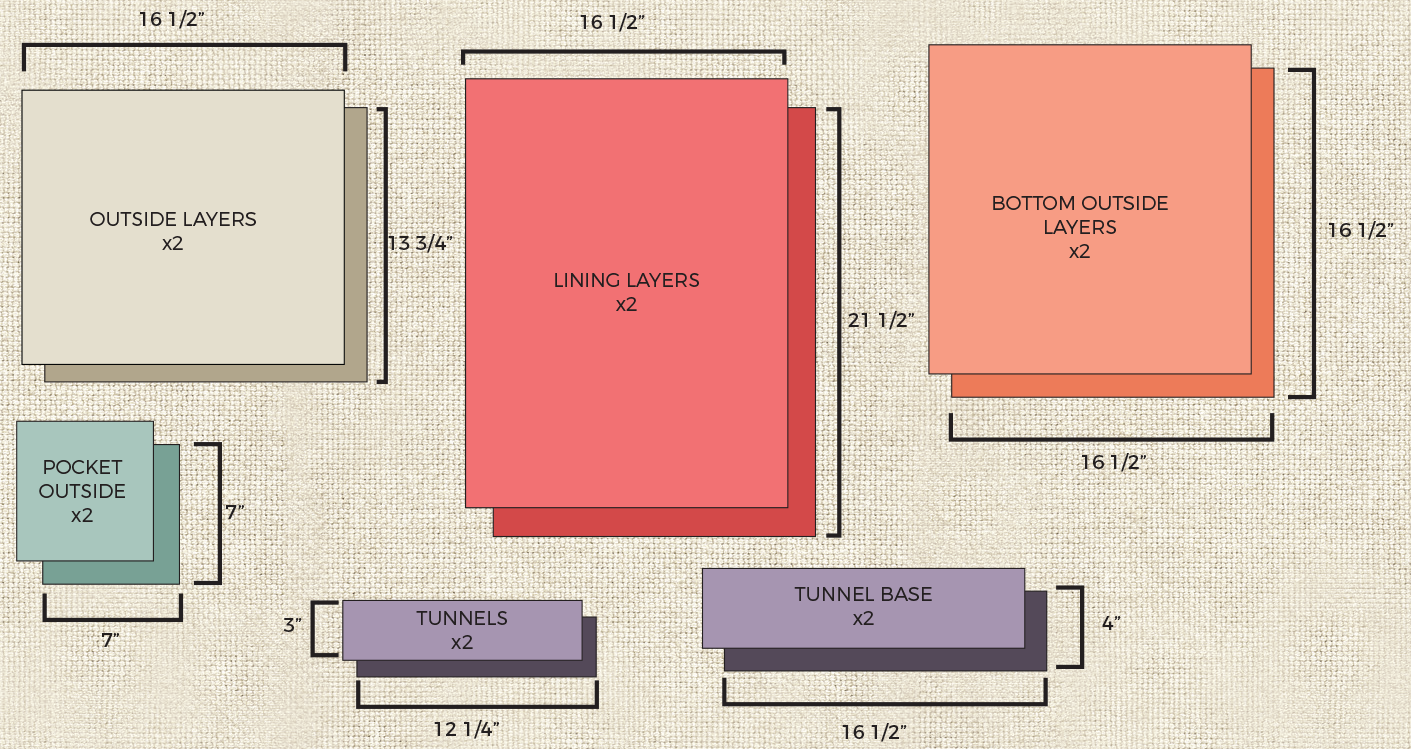
1. Select and cut your appliqué fabrics. Refer to the chart above for fabric shapes required for this project. Cut your fabric and fusible web to roughly the size of the die. Follow your machine instructions on die cutting or refer to our website for more information.
2. Select and cut your bag fabric. Select the fabric you want to use for your beach bag. Refer to the pattern above, measure, and cut your pieces.
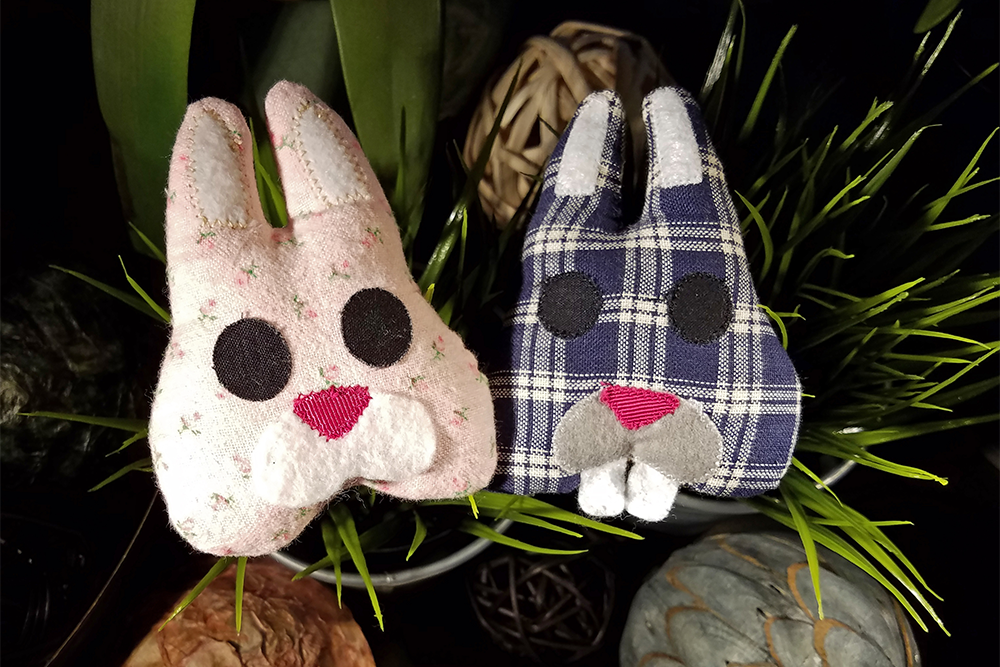
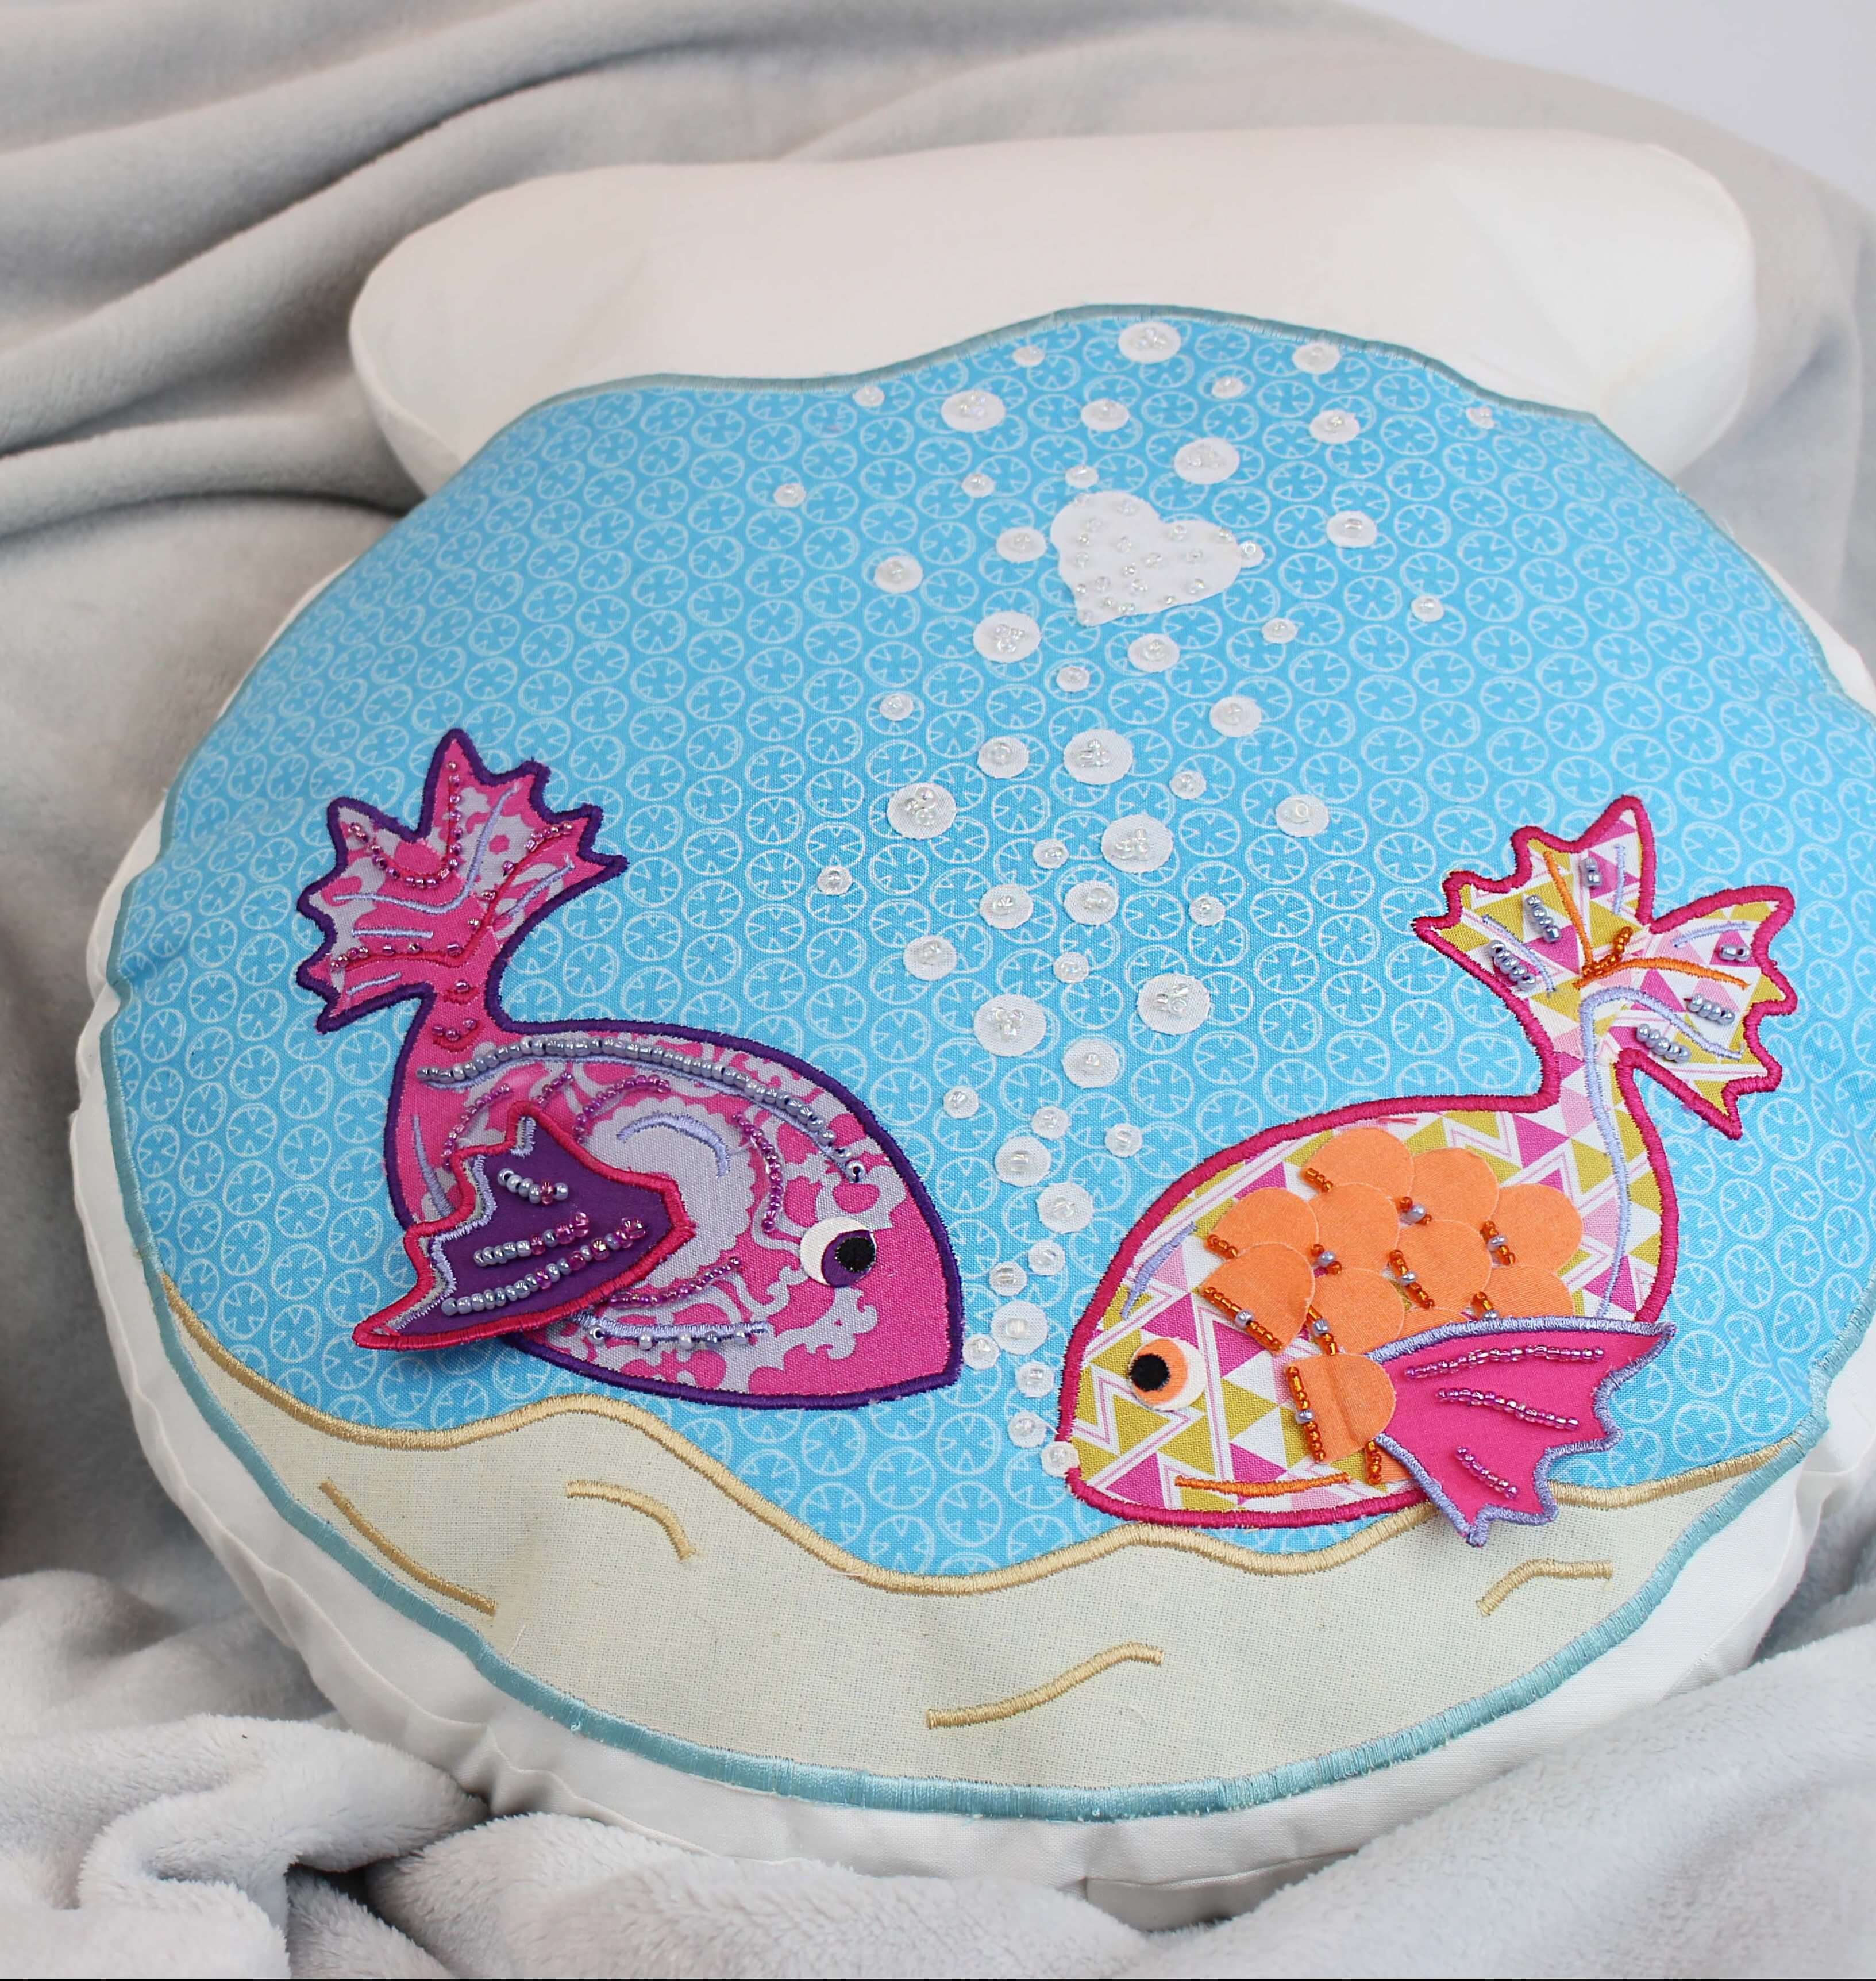
3. Arrange, iron and sew your appliqué. Arrange your appliqué onto your pocket square with the fusible web underneath. Iron for 10 seconds on medium heat to activate the fusible web. Secure by sewing along the edges of your shape using a small zig-zag or decorative stitch of your choice.
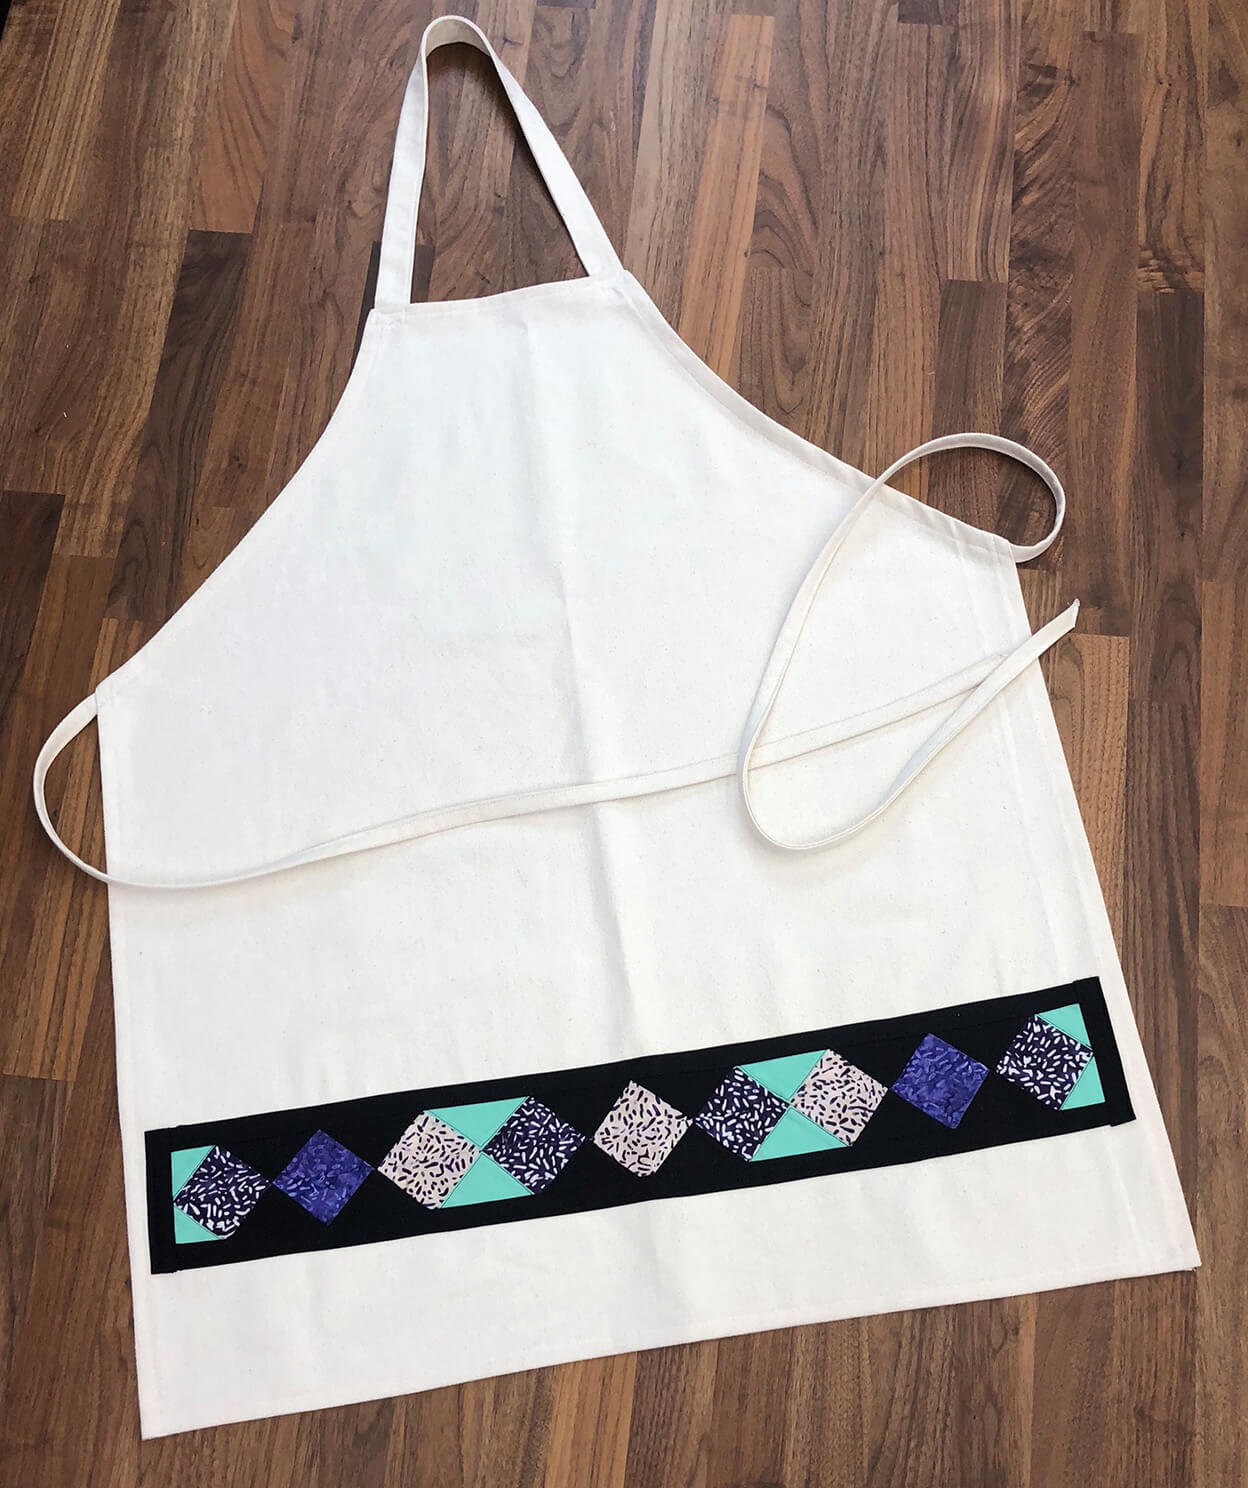
4. Sew the pocket. Take both of your pocket pieces and layer them face sides together. Sew around the edges leaving a 2” gap for turning. Turn your pocket right side out and press flat. Place and pin your pocket onto the center of the front of your bag. Attach your pocket by sewing closely around the left, bottom and right edges. This will also close your gap.
5. Sew the top tunnel pieces. Gather the four strips you cut for the tunnels. Take the two tunnel strips, fold and press in half length wise. Unfold, and take the outer raw edges, fold in towards the center crease, and iron flat. Fold back in half at the first crease you made, iron flat once more. Sew closely along the edges. Cut fourteen 1¾” sections out of the two finished strips. Take your two tunnel base layers, with face sides together, and sew one short end together to make one long strip. Repeat the folding and pressing process, sewing the edges to finish this strip as well. Starting 1½” from the edge of your tunnel base, pin 12 sections; each about 2” apart, on the face with the ends tucked around the back of the base. Sew along the edges of the top and bottom of each tunnel. Set aside the extra two 1¾” sections.
6. Sew the outside. Gather your outside layer with the pocket and the 16½” jean square for the bottom. With face sides together, match the edge underneath the pocket with one edge on the jean piece. Stitch together with a ¼” seam allowance. Press flat. Take one 16½” edge of the remaining outer layer piece and match it with the jean edge, parallel to the stitch you just made then sew right sides toghter. Press the seam flat. Fold your rectangle in half to make a 21¼” x 16½” rectangle. Sew the right and left sides together with a ¼” seam allowance. To square the bottom, press your seams open and match them together. As you do, the fabric will begin to make a small point at the corners and will fold. Match the corners and find your ruler. Place your ruler horizontally across your corner and measure where edge to edge is 3½”. Draw a guide line on both corners, pin if needed and sew along your line. Cut the excess. Take your two extra sections and fold them in half. Pin the edges to the bottom backside corners, with the fold towards the bottom edge. Sew the edges with a strong zig zag stitch.
6. Sew the lining. Take your two lining pieces and with the faces together, sew along the two long sides and bottom. Square the bottom the same way you did the outside.
7. Sew the bag together. Turn the outer layer right side out. Take each piece of your bag and press the top over ½”. Place the lining inside the outer layer and pin both together. Stitch around the top of your bag. Take your tunnel base and starting at one seam of the bag, pin the base around the top face side, matching the edges. Sew together along the top and bottom stitch you already made on the tunnel base.
8. Add your drawstrings. With one of your two lengths of cording, Now attach a safety pin to the end of the cording. Starting at the right side, thread it through the tunnels and go around until you reach the starting point. Take the ends and thread them both through the loop you made on the bottom and knot the end. Do the same for the second piece of cording but start on the left side to finish.