It’s getting to that time of year everyone, where pumpkins rule the stores and Arizonans have the false hope that cold weather is coming. That’s right, it’s Fall. We all know there will be more warm color tones, leaf piles, pumpkin everything, and everyones favorite, more comfort foods. The end of the year brings out the best food in festivals and holidays, and along with the cold weather we hope for; it’s perfect pairing, soup.
Every year when I find myself about to try and grab my piping hot bowl of soup, I think to myself ” I should make one of those bowl holders”. Yet I hadn’t until this year. I decided this was the year to make a soup bowl holder. And knowing myself, I had to make it unique. Lately I have been really inspired by the english paper piecing methods that have been popping up all over and wanted to try piecing the top layer of my bowl holder.
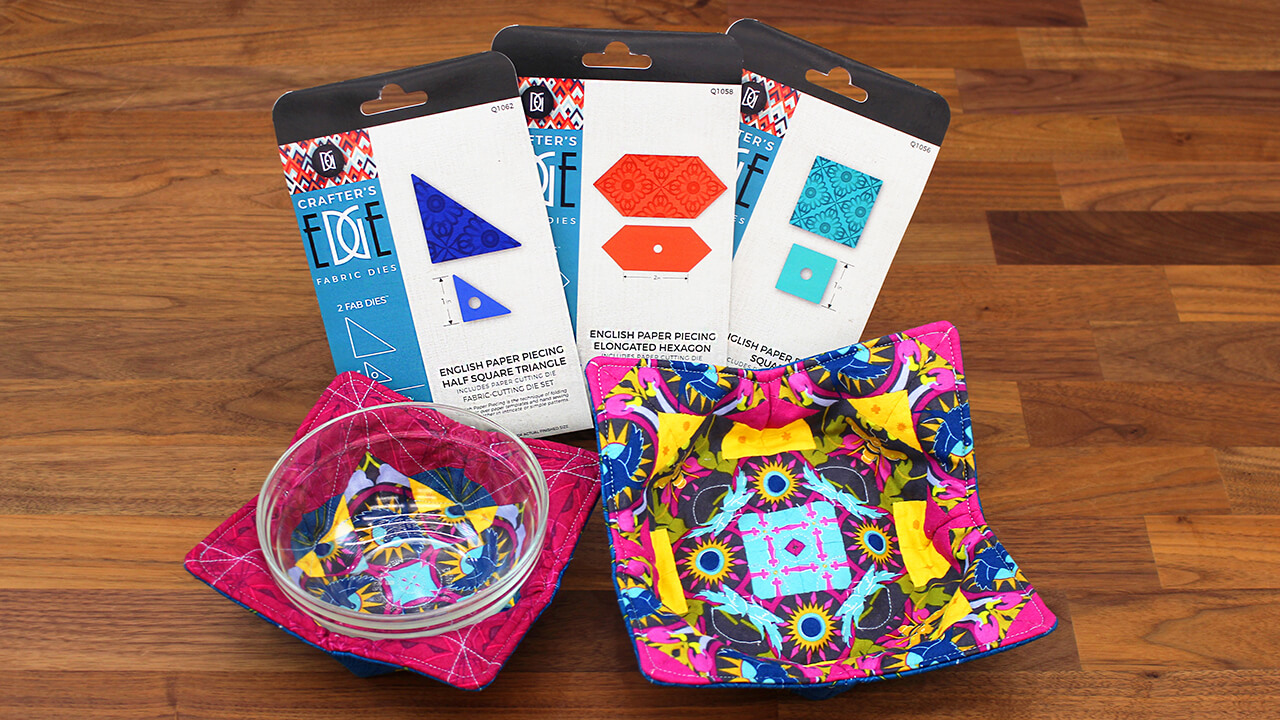
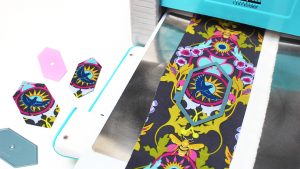
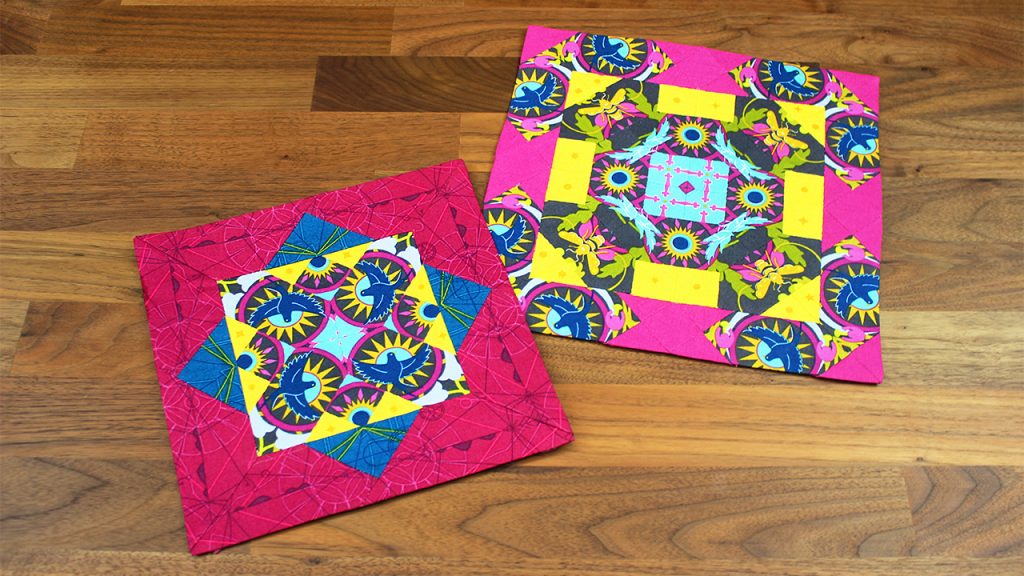
I had a such a fun time doing this project and with the Crafter’s Edge e.p.p. fab dies, I was able to create my own patterns pretty quickly. Not only that, after I created my pattern, I was able to perfectly fussy cut my fabric to create some neat color plays. I started off trying to get a square about 8 -10 “. I just cut a bunch of the paper and fit them together until it was big enough. I ended up making two just because I couldn’t decide on one pattern and what part of my fabric to use.
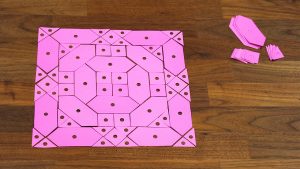
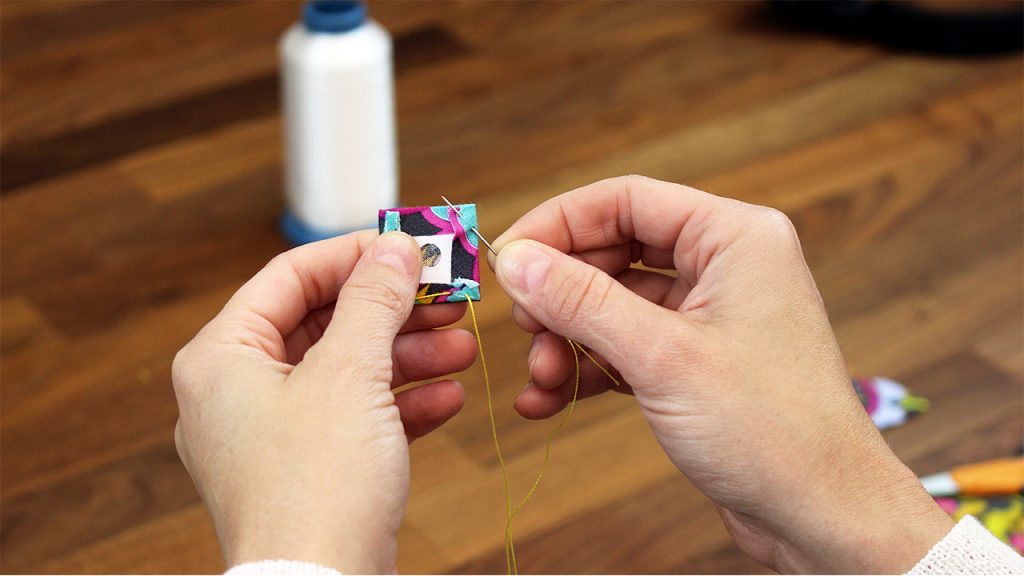
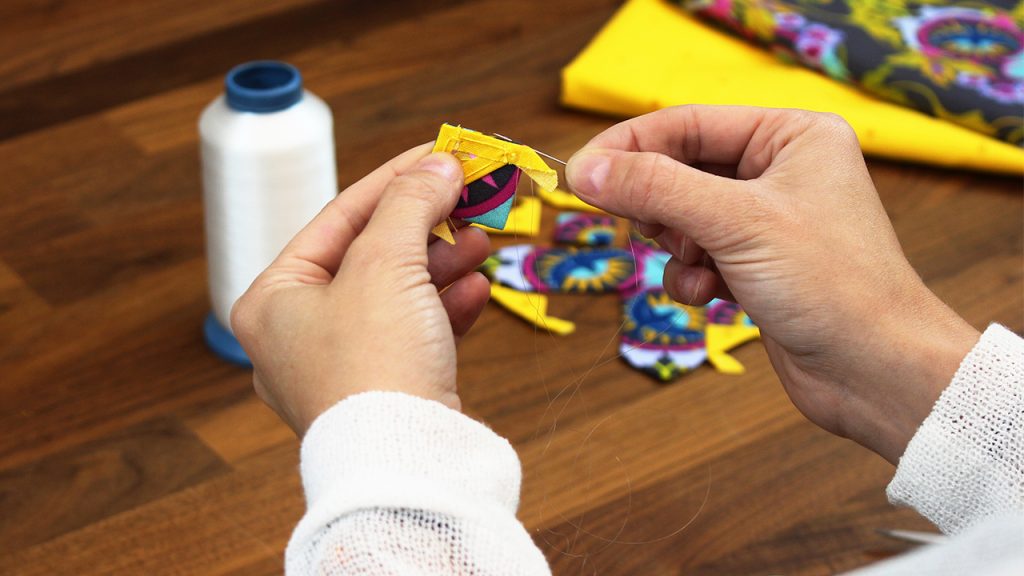
So I had some fun planning out my patterns. It’s almost like making your own puzzle. After I got those done, I spent some time preparing my shapes with the paper and piecing them together. I used monofilament thread to piece my shapes together. The clear thread is very forgiving on my terrible stitches.
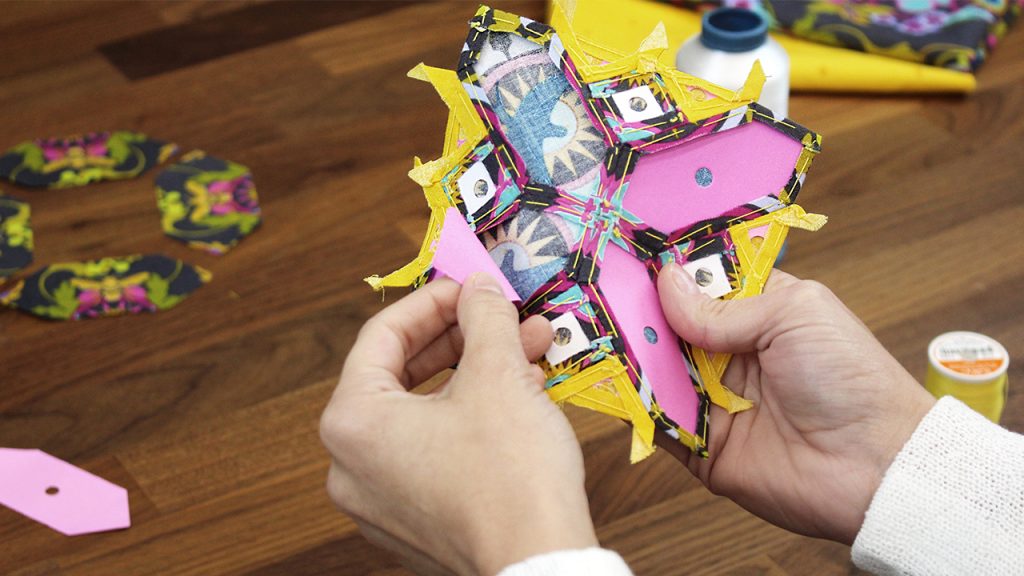
After piecing my top layers together, I went ahead and took the paper out from the back.
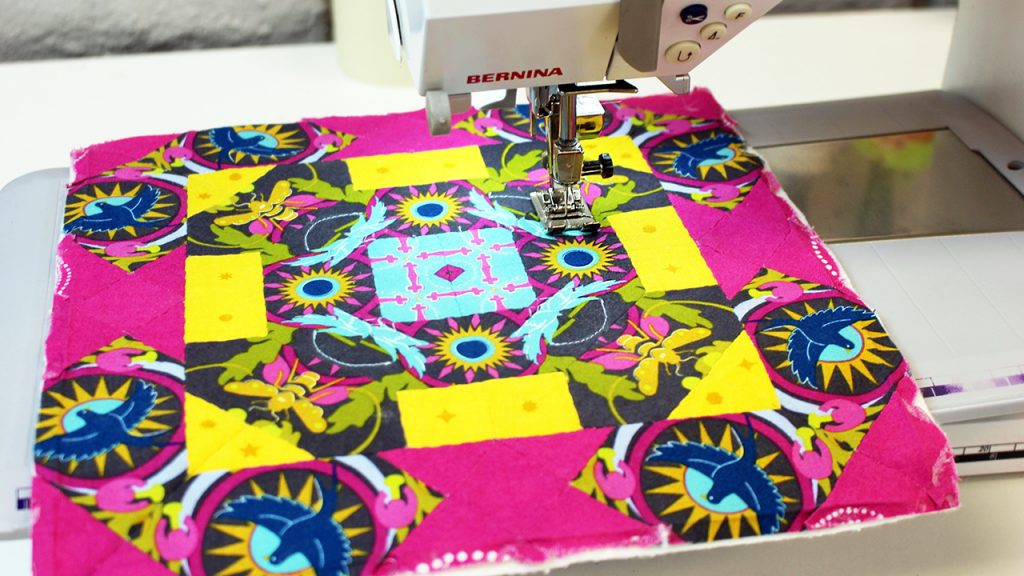
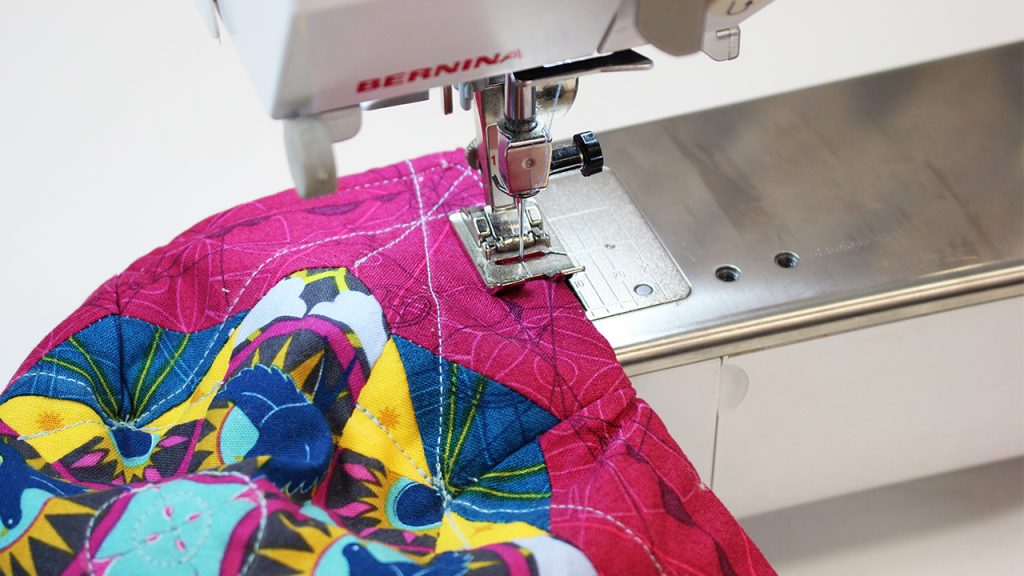
I then basted some natural cotton batting to the back of the top layers and quilted a few designs on them; just enough to keep the layers together and give it that quilt-y vibe. I didn’t want to take away from any of the piecing I had done.
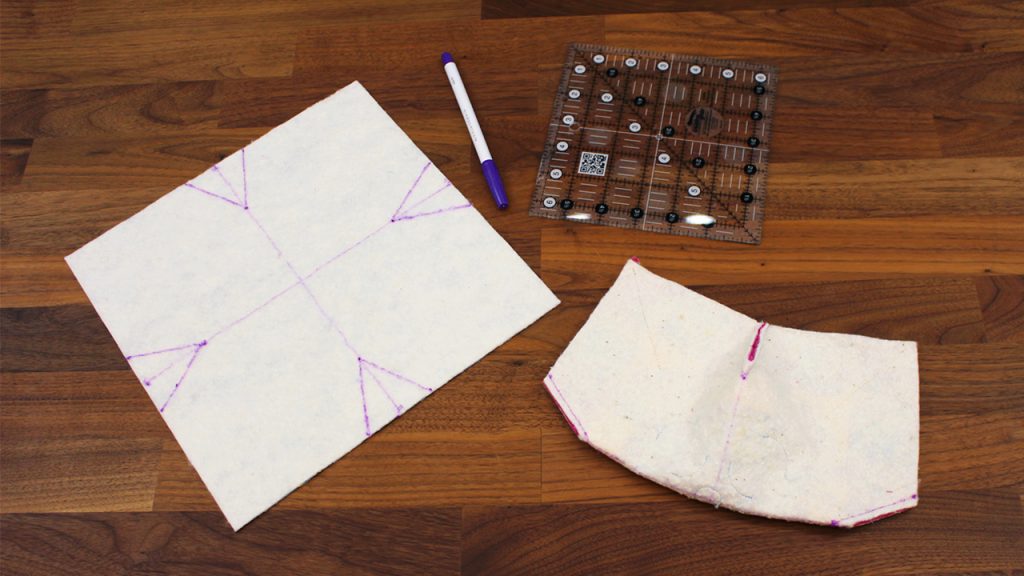
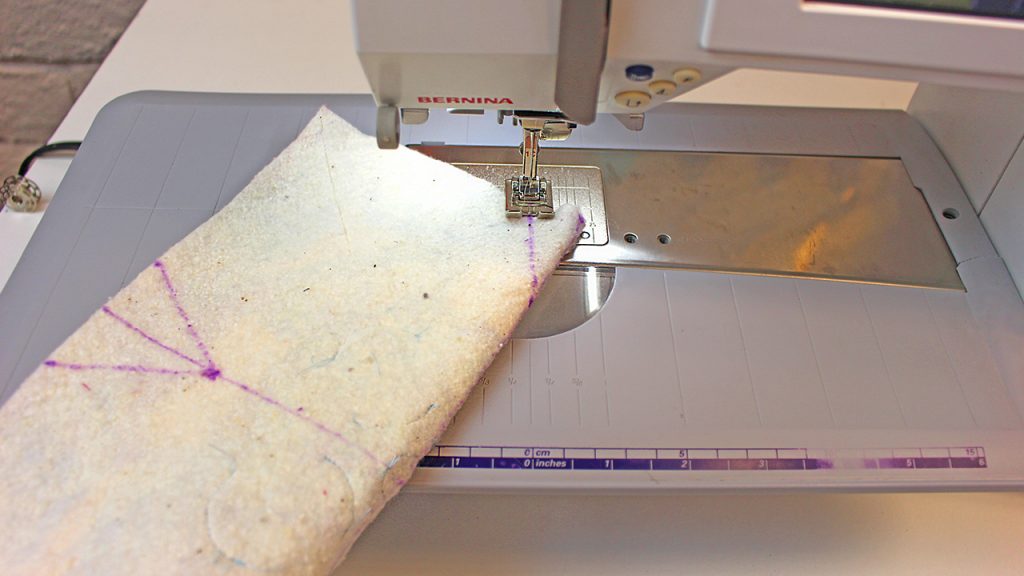
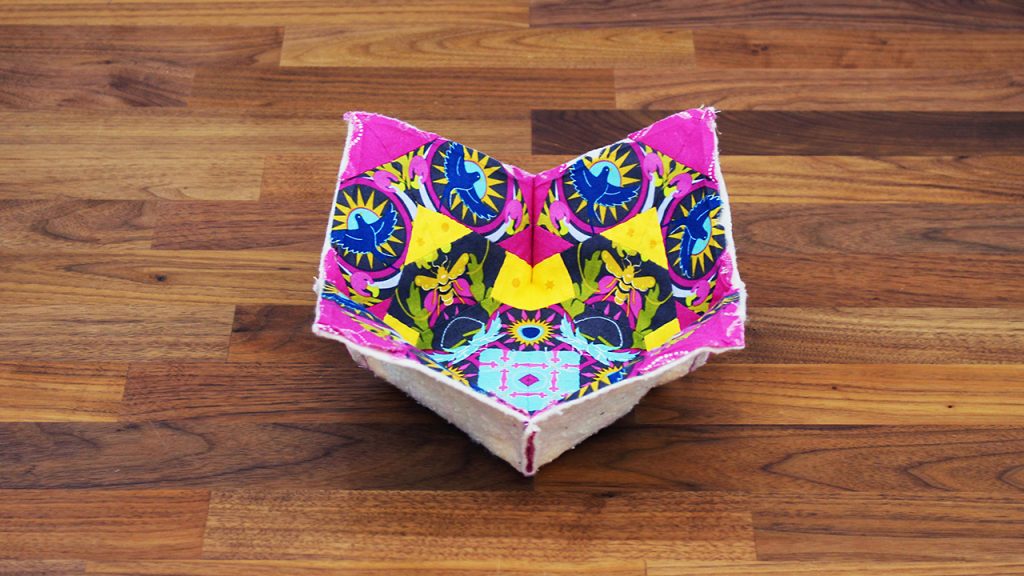
After I got the top layers made, I made the bottom layers of the bowl holders. Since the bottoms wouldn’t be seen much, I didn’t mind just quilting a simple square of fabric to the batting. Nothing fancy just a quilted square the same size as each of the top layers. With all of my layers complete I was ready to mark where the bevels should be to create the bowl shape. I drew center marks horizontally and vertically on the back batting side of my layers. On these marks, I measured 2″ from the edge, and 1″ over from the center line mark and drew a line connecting the two points. With my guides done I took it to the sewing machine, folded along my lines, and sewed my bevels.
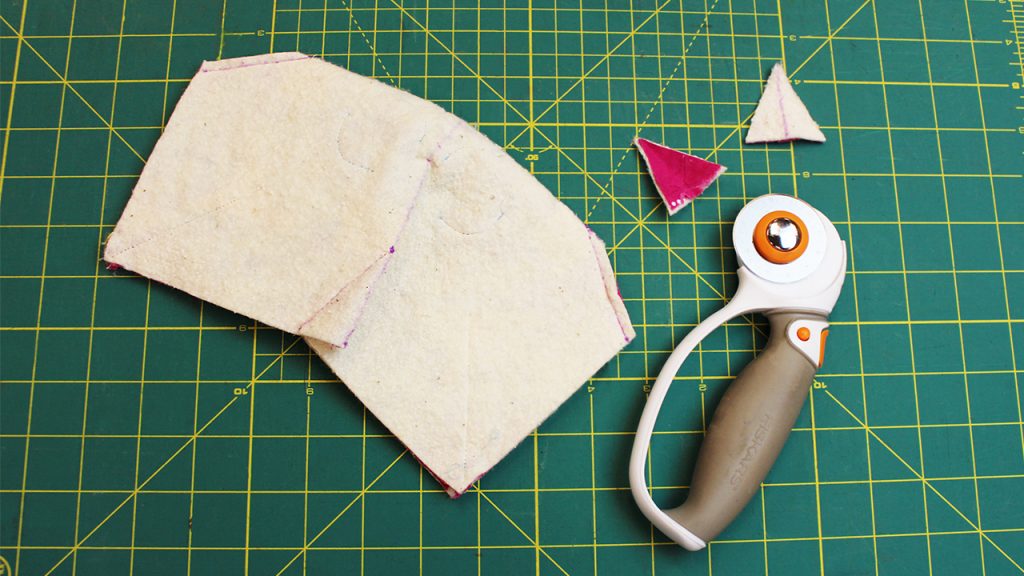
I did this to each of my layers the same way, then trimmed off the extra. At this point in my process it was very satisfying to finally see it have a 3d shape.
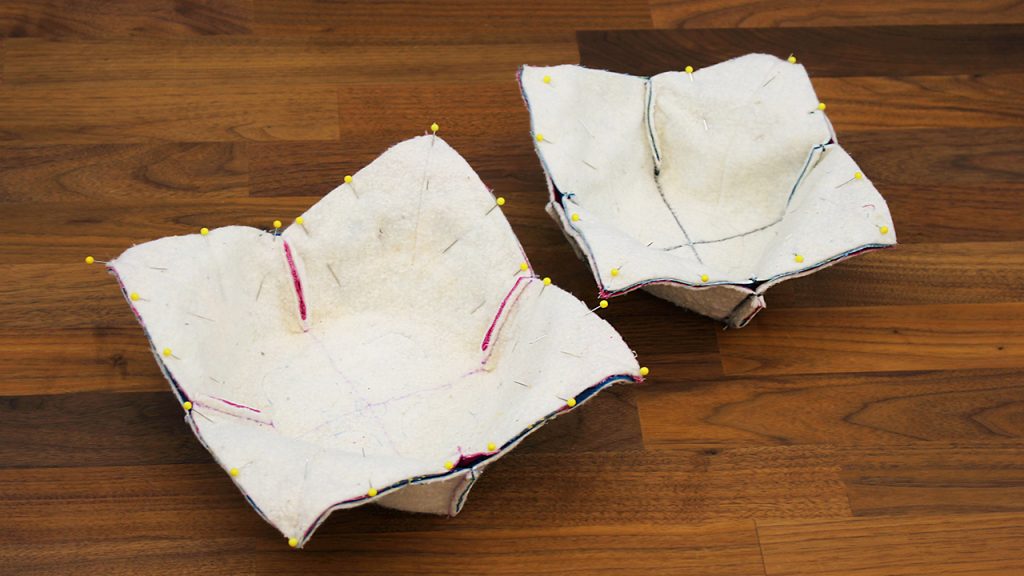
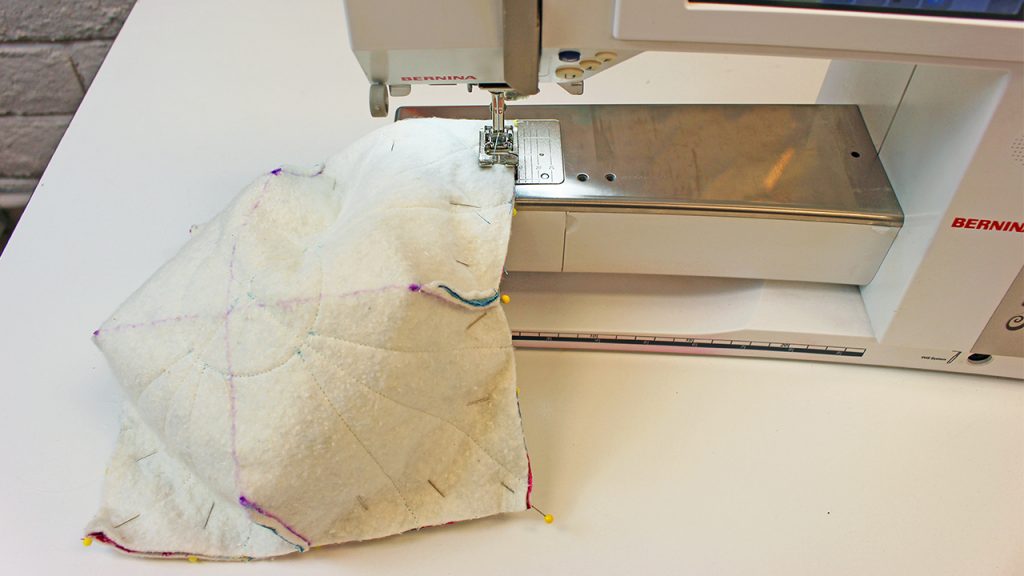
Next, I pinned and sewed my two layers together leaving a gap for turning.
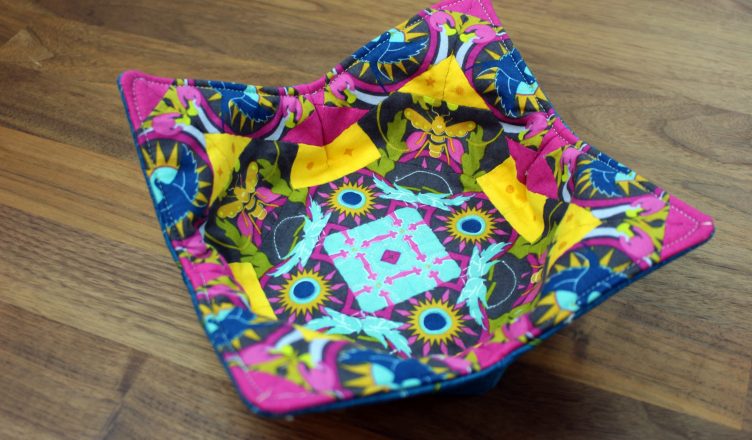
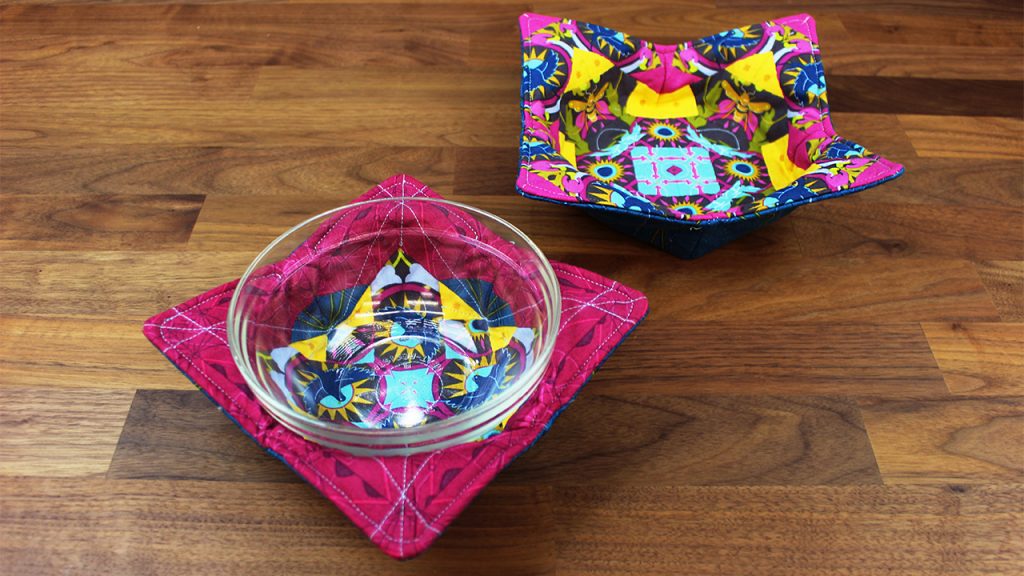
Once I turned it outside right, I added a top stitch all the way around the edge to close the gap and give it a nice finish.
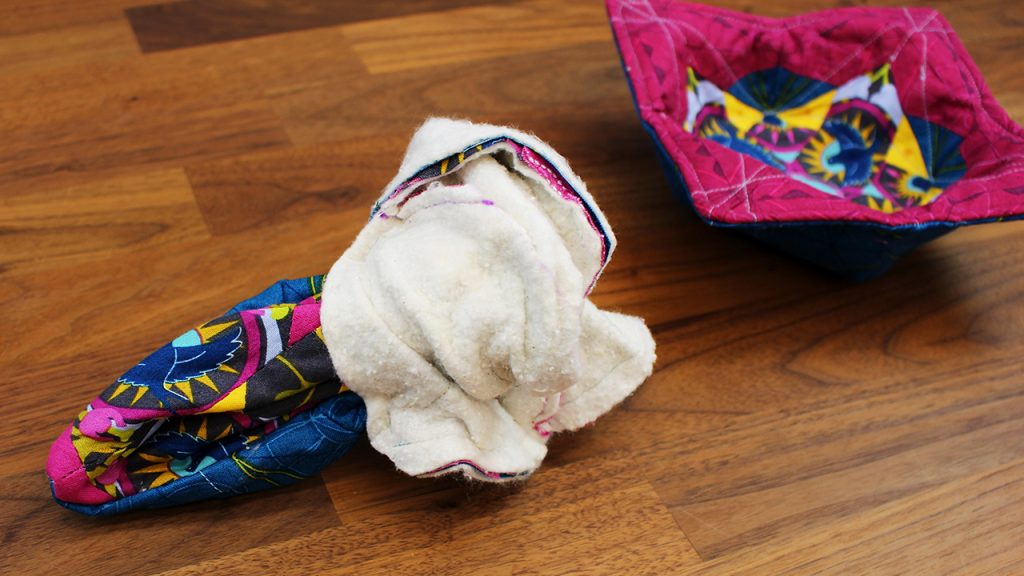
And a nice finish it was. I was so happy with the way they came out and how fun and modern they look. It made me want to go home and make a bowl of soup…if only Arizona wasn’t still so hot. But hey, these bowl holders can be used to keep your hands warm while holding a bowl of ice cream too. I am going to go test this theory and hopefully inspire some of you to create an e.p.p. project!
For even more inspiration and announcements check out our Facebook and Instagram!