By: Xappa
Hello crafty peeps!
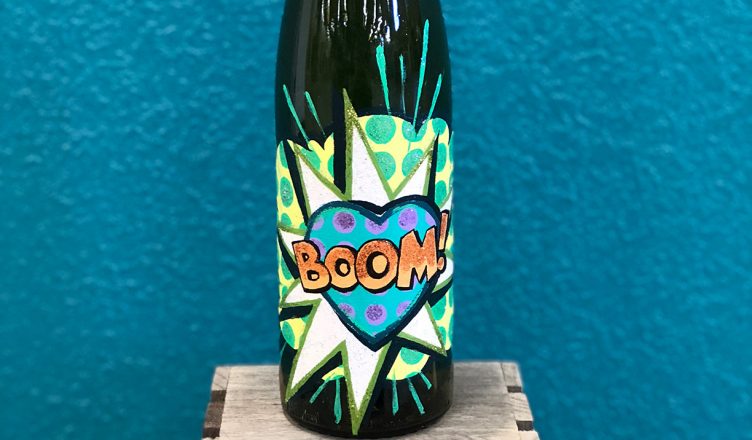
I’m super excited to show you how to make some art using an empty wine bottle, paint, acetate sheets, glitter and some elements from a few different die sets made into stencils. Stencils! For this tutorial I used the sheep body from the Whimsical Sheep Fab die set, the Mini Circle Fab die set (I use this the most out of all the dies), and of course the Nested Hearts Fab die set. For the word and the explosion I just made freehand shapes then traced them onto the acetate and cut them out.
Here’s the video and the full tutorial below.
List of Materials:
- Acetate sheets (to use as stencils)
- Acrylic paint (glass paint if you want to be a real fancy pants)
- Mod Podge (or any other glue that you can paint on that will dry clear)
- Paint brushes
- Wine bottle clean with label removed
- Fab Die sets: Q1087 Mini Circle Set, A1100 Whimsical Sheep, and A1070 Nested Hearts.
- Fine glitter
- Exacto knife
- Sharpie
- Crossover II or Die cutting machine with our conversion plates.
Instructions:
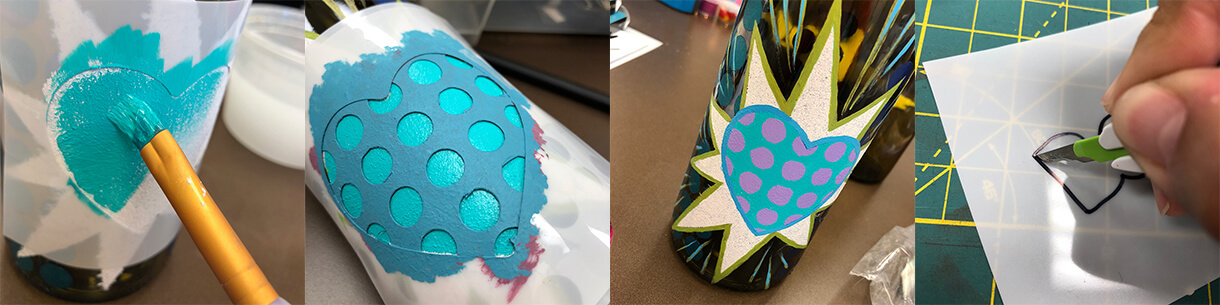
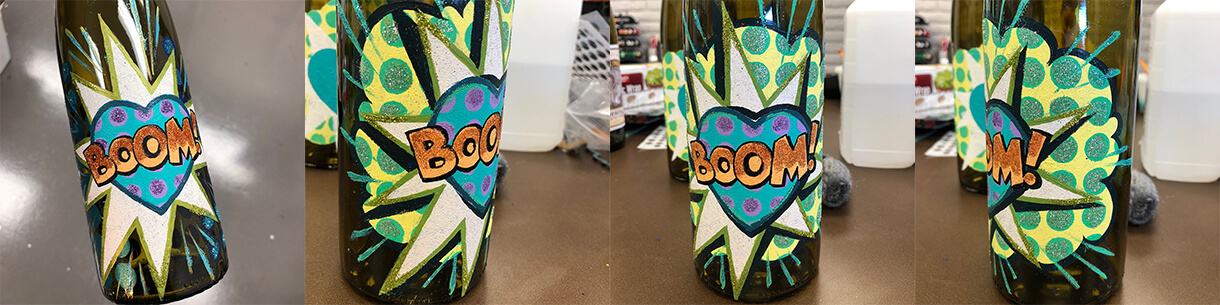
Step 1. Make your stencils: You’re going to cut into your acetate sheets with the dies to make your stencils, using a separate sheet for each die so that you can combine them. I used the mini circle set to make half tone as the base layer of color for my pop art wine bottle by cutting line after line of one size shifting the die to create different lengths onto the acetate sheet. Then I used the sheep body for the smoke puff, and the second size up from the smallest heart in the set to make the heart. Lastly, I wrote out the word “boom” in a comic style font and cut it out with an exacto knife. I freehand drew the explosion and cut that out of the acetate as well.
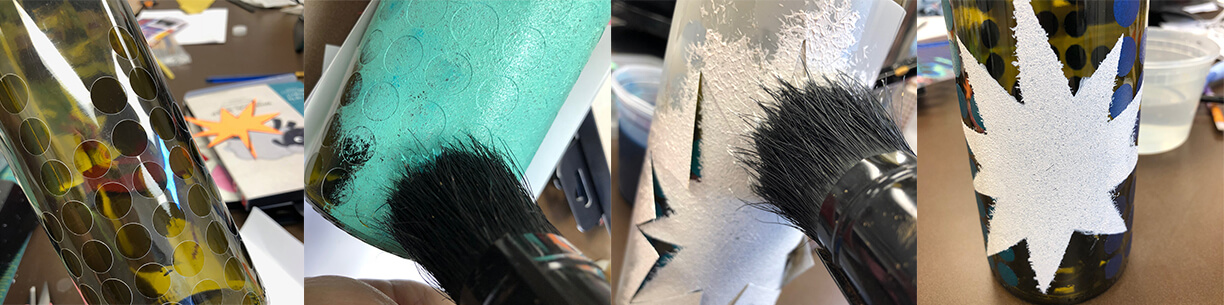
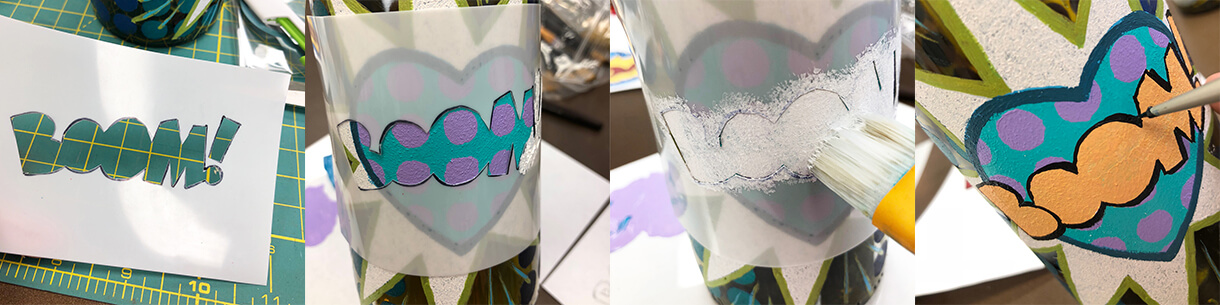
Step 2. Tape your stencils on and paint. I started with the half-tone (circles) base first, taped it on and painted in my color. I repeated the steps with each stencil. The order I went in was: Halftone, smoke puff, explosion shape, heart then halftone again over the top of the heart, then “boom”. *Tip* Peel your stencil off when the paint is slightly damp for ease of clean up. You can use a damp rag to wipe off your mistakes.
Step 3. Paint on your details. For a nice comic book feel I decided to paint a thick outline onto all the elements. I did that and added a 3D element to the “boom”, to make it look like it was lifting off the bottle. I added some motion marks onto the explosion for extra effect. Highlights were also added to the text before the next step.
Step 4. Add Glitter. Sometimes, I feel like this is a step that should be added onto every post I do but I digress: Paint glue onto the parts you want glittered and sprinkle that stuff on there like nobody’s business! I did mine 4 times since I had 4 colors I wanted to highlight and, because I love glitter. I recommend using a fine glitter since it gets the most coverage in a small space.
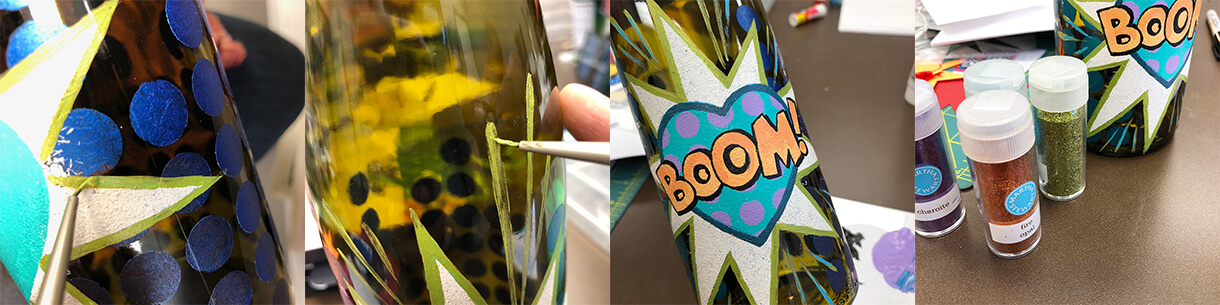
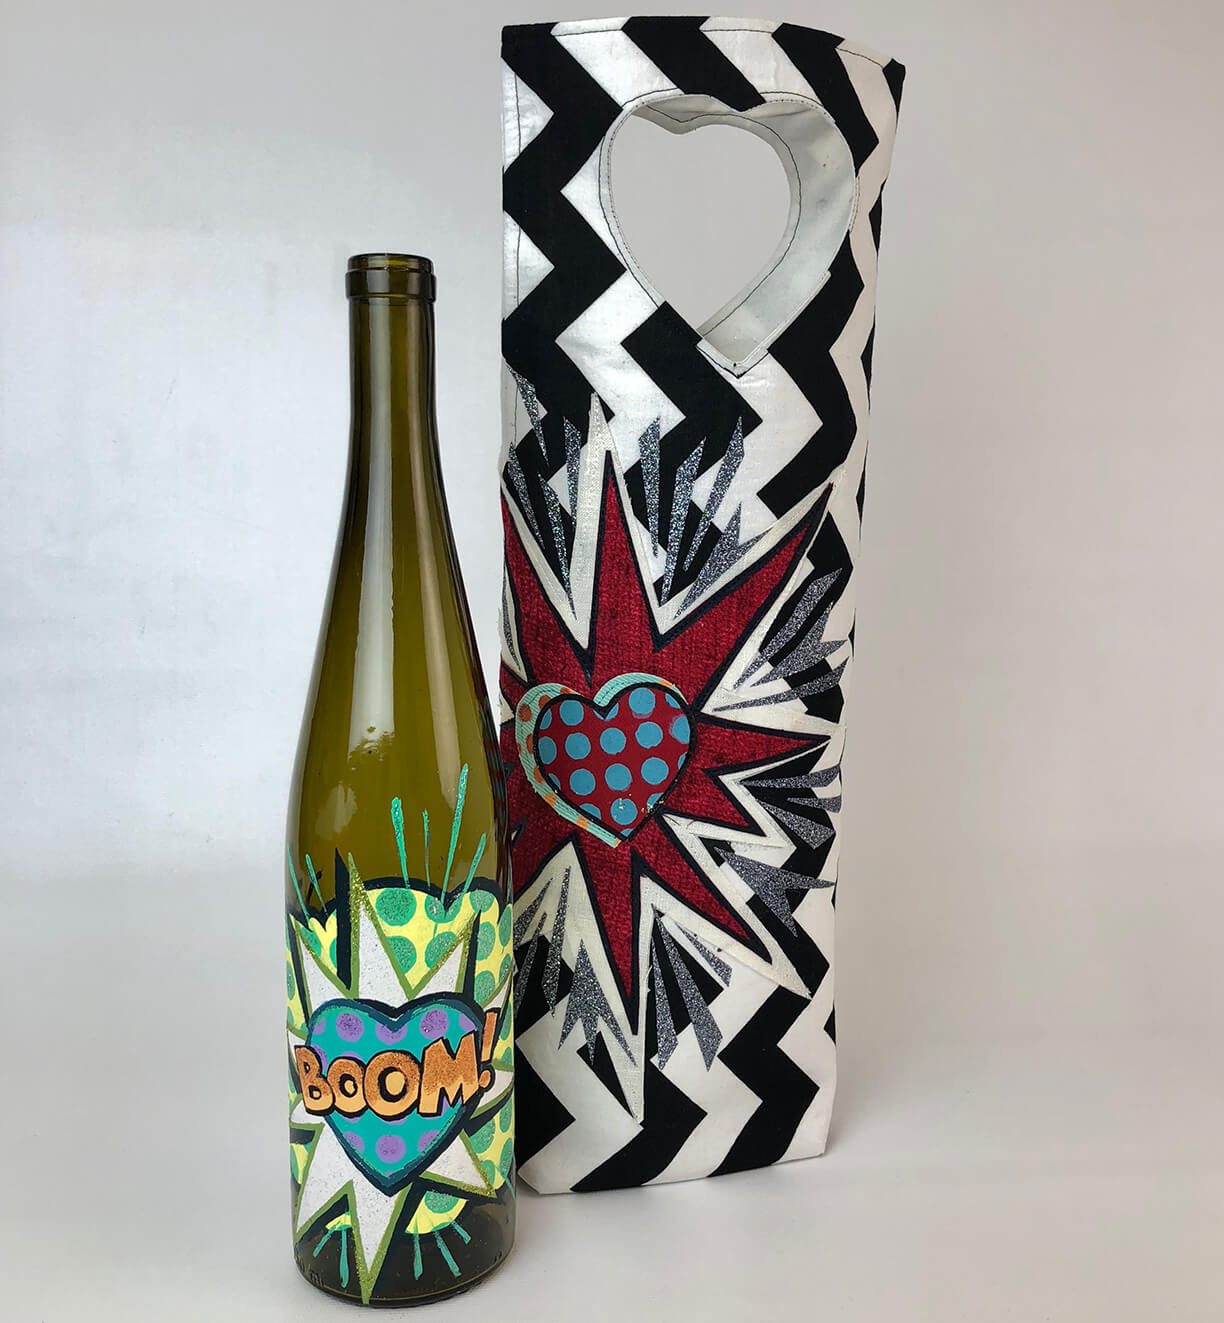
Step 5. Enjoy! Use your bottle as decoration, or if you used glass paint you can put a liquor pour spout on top and fill it with olive oil or a cocktail mix to give as a hostess gift. *Note that there are 2 different versions of the same bottle. I had to do multiples for the video shoot, your mind is not playing tricks on you. Personally, I like the one with the smoke puff better.
I even made a handy dandy wine tote to carry the bottle around in. I used the same sized heart die for the cut out handle detail.
I hope you all enjoyed this post and the video! If you haven’t done it yet, please subscribe to our You-Tube page as well as following us on Pinterest, Instagram, and Facebook. Enjoy the rest of your week!
Your friend in crafting,
Xappa