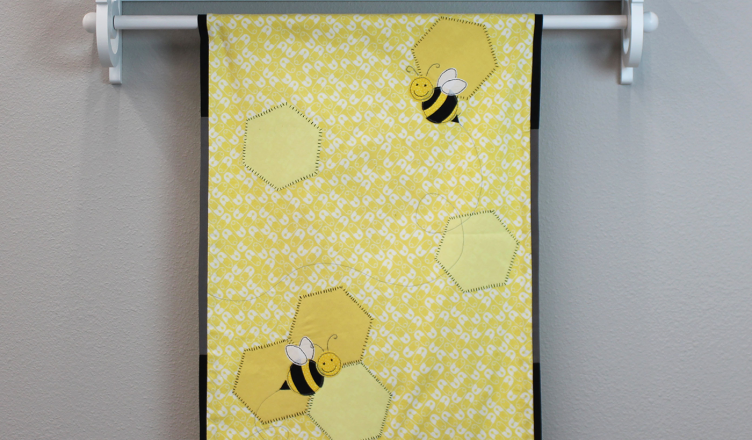
Enjoy this beautiful bumble bee baby blanket! Full PDF tutorial download here.
Supplies:
»Fabrics Of Your Choice
»Die Cutting Machine
»A1099 Die Set
»Thread To Match Or Coordinate With Your Selected Fabric
»Fusible Web
»Sewing Machine
»Iron
»Blanket Binding
»Rotary cutter
Instructions:
1. Select and cut your fabrics. Refer to the chart below for fabric and fusible web needs. Cut your fabric and fusible web to roughly the size of the die. Place the flat side of the die on the white base plate and your fabric/fusible web layers on top of the die. Put the metal plate on top of your fabric and sandwich it all together with the clear-cutting plate. Adjust the roller width on your die cutting machine as needed and roll the plate through the machine twice (forward and back one time each).
• Select the fabric you will be using for the base of the blanket, cut two rectangles 22 1/2” x 32 1/2”. Note: Also make sure you have enough blanket binding. You can also use double folded bias tape.
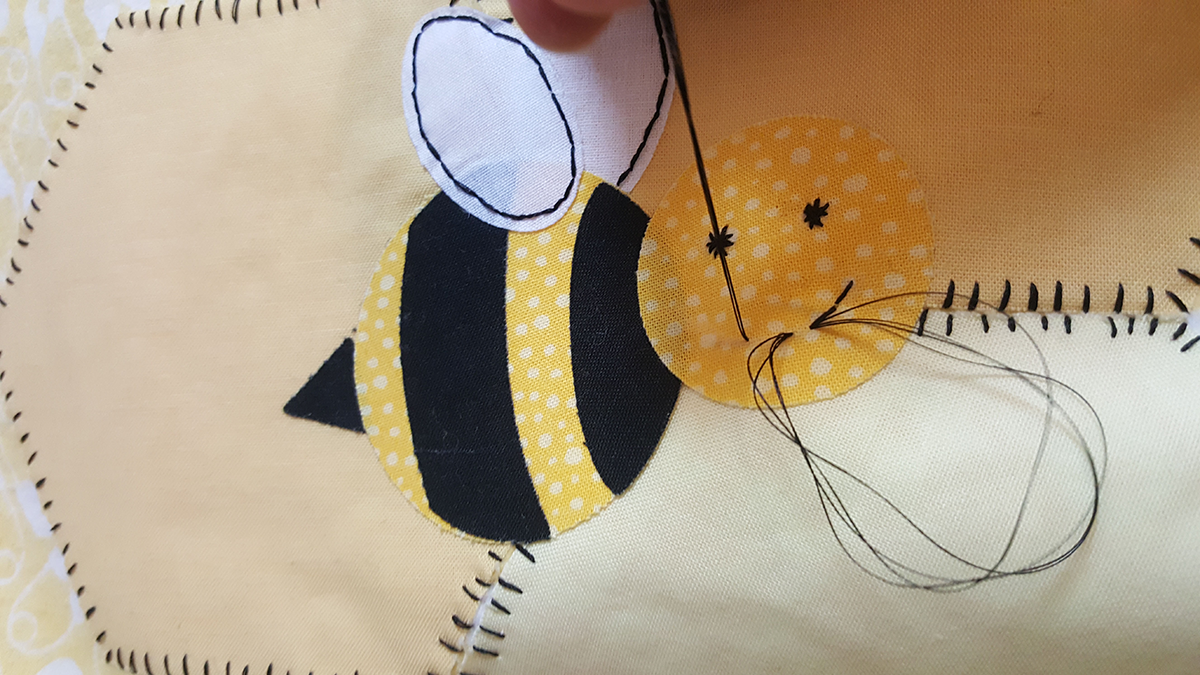
2. Arrange, iron and sew your appliqué. Layer your bumble bee appliqués as desired with fusible web face down on the front side of one of the fabric rectangles you cut. Iron for 10 seconds on medium heat to activate the fusible web. To secure, add a desired stitch on the edges of your bumble bee shapes.

3. Sew your blanket. Now that your appliqué is on and secure, place your two fabric rectangles with the faces out. The wrong sides will be together. Cut through both layers of fabric to square the edges. Pin your two rectangles in place and sew around the edges.
4. Sew your blanket binding and finish! Take a close look at your blanket binding (or bias tape) and you will notice one folded side is a tiny bit wider than the other. This side will go on the back of your blanket. Unfold the binding and slip it under one side of your blanket with the blanket edge snug in the crease folding the binding on top of your blanket. Pin in place. Take and open the binding to fold it at a right angle, tucking the excess binding towards the unpinned edge, fold over and pin. You can use the center crease of your binding as a guide as it should follow your
edges evenly. This should make a clean corner and is also called mitering. Continue this mitering process for all four corners. The binding will overlap on the last side of your blanket. Sew along the edge of your blanket binding with a zig-zag stitch. After you have sewn your binding on take a small zig zag stitch and close the corner folds and where your binding stops and overlaps.
I would love to see your latest creations and hear any ideas you may have for my next project or tutorial. Share your bumble bee baby blanket photos and ideas with me online via Facebook, Pinterest or Instagram: @thecraftersedge.
Enjoy your latest project!
-Randi
