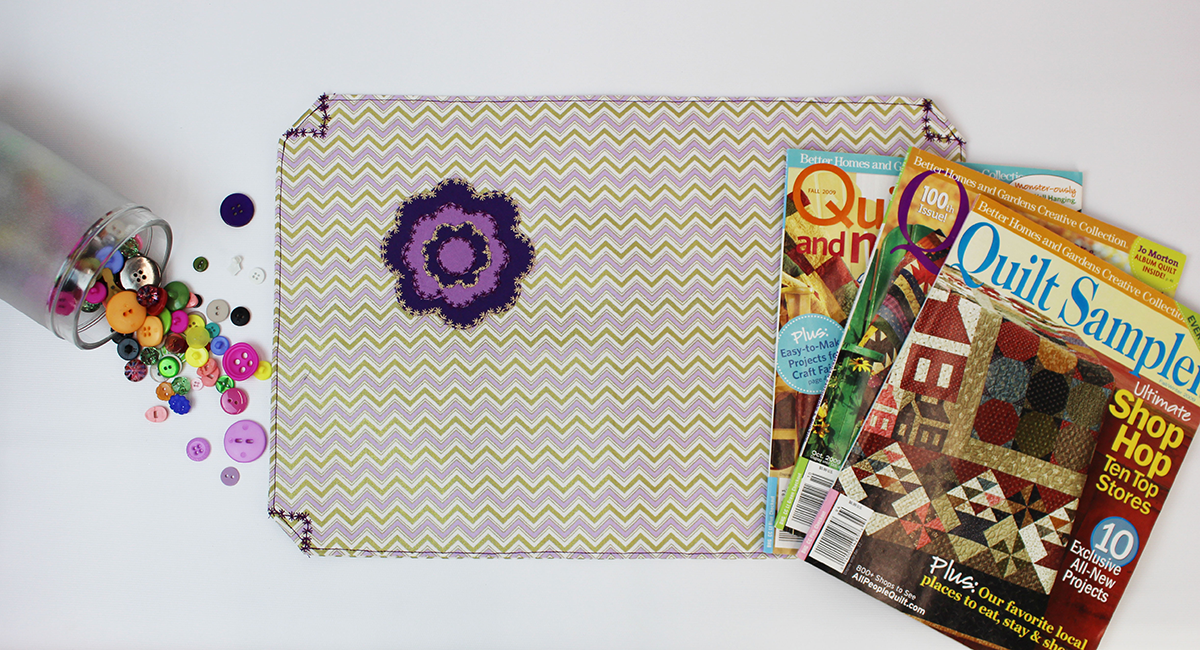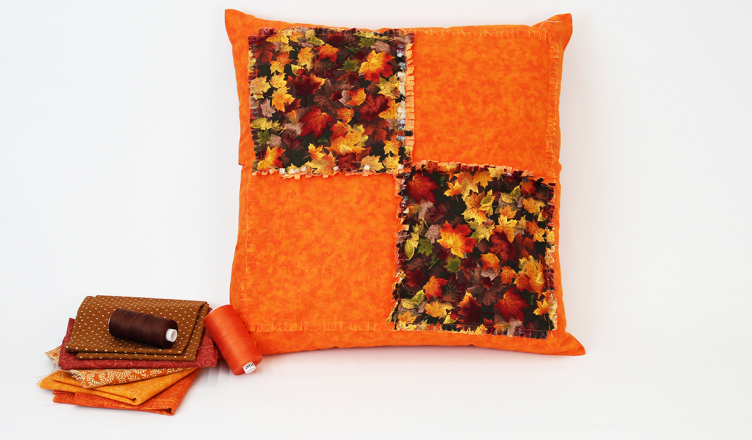
We love this rag quilt pillowcase, because with a slight change of fabric you can match any season or color scheme! Download the full PDF tutorial for quick access at home.
Supplies:
»» Die Cutting Machine
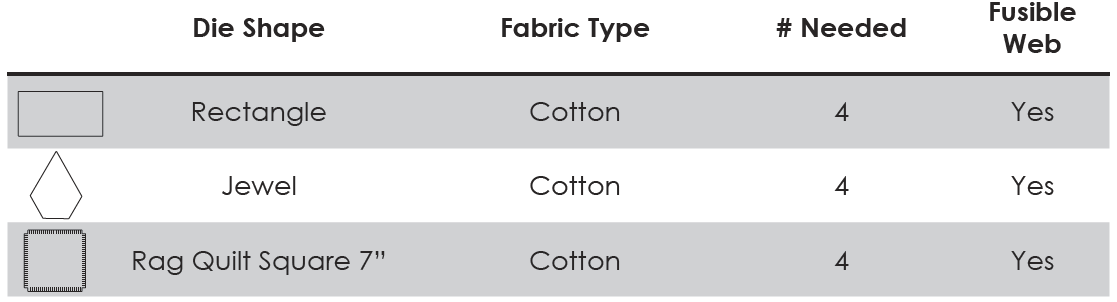
»» Q1070, Q1075 and Q1059 Fab Die Set
»» Sewing Machine
»» Thread To Match Or Coordinate With Your Selected Fabric
»» Hook And Loop Closure
»» Marking Pen
»» Cotton Fabric
»» Straight Pins
Instructions:
1. Select and cut your fabrics. Refer to the chart below for fabric and fusible web needs. To cut two of one shape, fold the fabric with the right sides together. Cut your fabric and fusible web to roughly the size of the die. Place the flat side of the die on the white base plate and your fabric/fusible web layers on top of the die. Put the metal plate on top of your fabric and sandwich it all together with the clear cutting plate. Adjust the roller width on your die cutting machine as needed and roll the plates through the machine twice (forward and back one time each).
2. Cut and prepare your pattern. Cut materials for a 16” x 16” insert… 40” long x 17” wide. You could simplify this by folding the material in half to 20” (20” + 20” = 40”) x 17”.
3. Iron, sew and add hook & loop tape. Iron the material. Place right side down and fold over ends. This is where you will be folding over 3/4” and iron. Then fold over 3/4” again and iron, followed by sewing a straight stitch. Be sure to create creases with your iron when you fold over (overlap) to create the main shape. These creases will be used as guidelines (16” x 16”) when you turn it inside out to stitch the seams. Complete this step by adding hook and loop tape to the newly sewn hem. Place the loop on the short end and the hook on the long end.
Note: The loop will be on the underside of the overlap while the hook will be on the outer side.
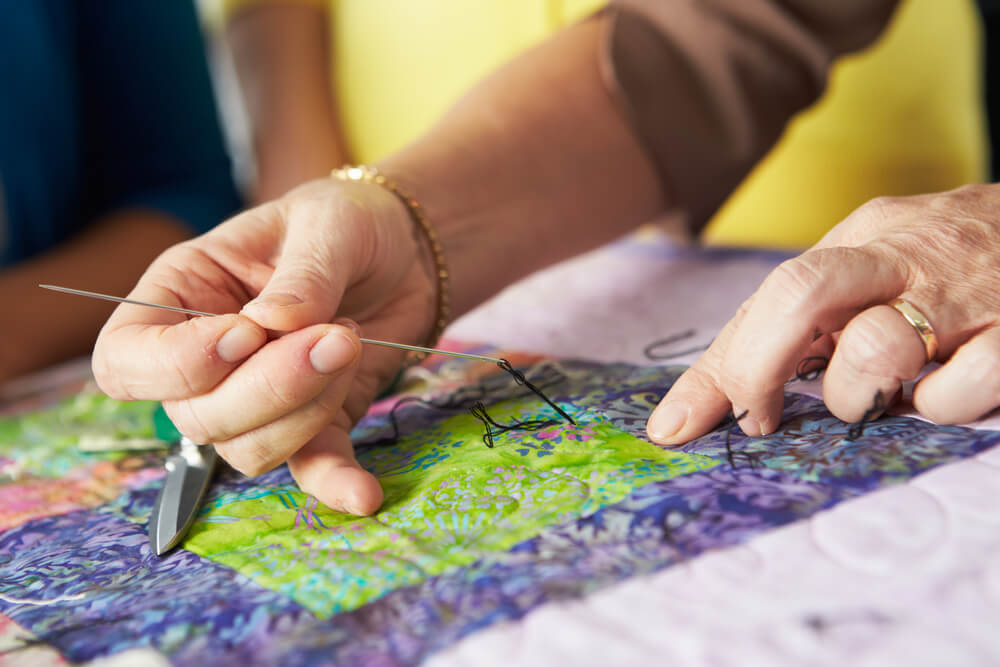
4. Arrange, layer and iron appliqué. Layer your appliqué with fusible web underneath and arrange onto the body of your pillow to your desire. Iron for ten seconds on medium heat to activate the fusible web. Secure your appliqué with a small straight stitch.
5. Finish. Turn the pillow over to see the back. Using the crease that your ironing made earlier you will be able to fold the bottom up and tuck the top down under the bottom. Sew 1/2” seam on both sides. I completed the seams with an overlock to prevent fraying. Use the method you like best for preventing the possibility of fraying.
We would love to see your latest creations and hear any ideas you may have for our next projects. Share your pillow insert cover and ideas with us online!
Happy Quilting,
Connie L. Allison